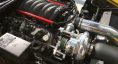
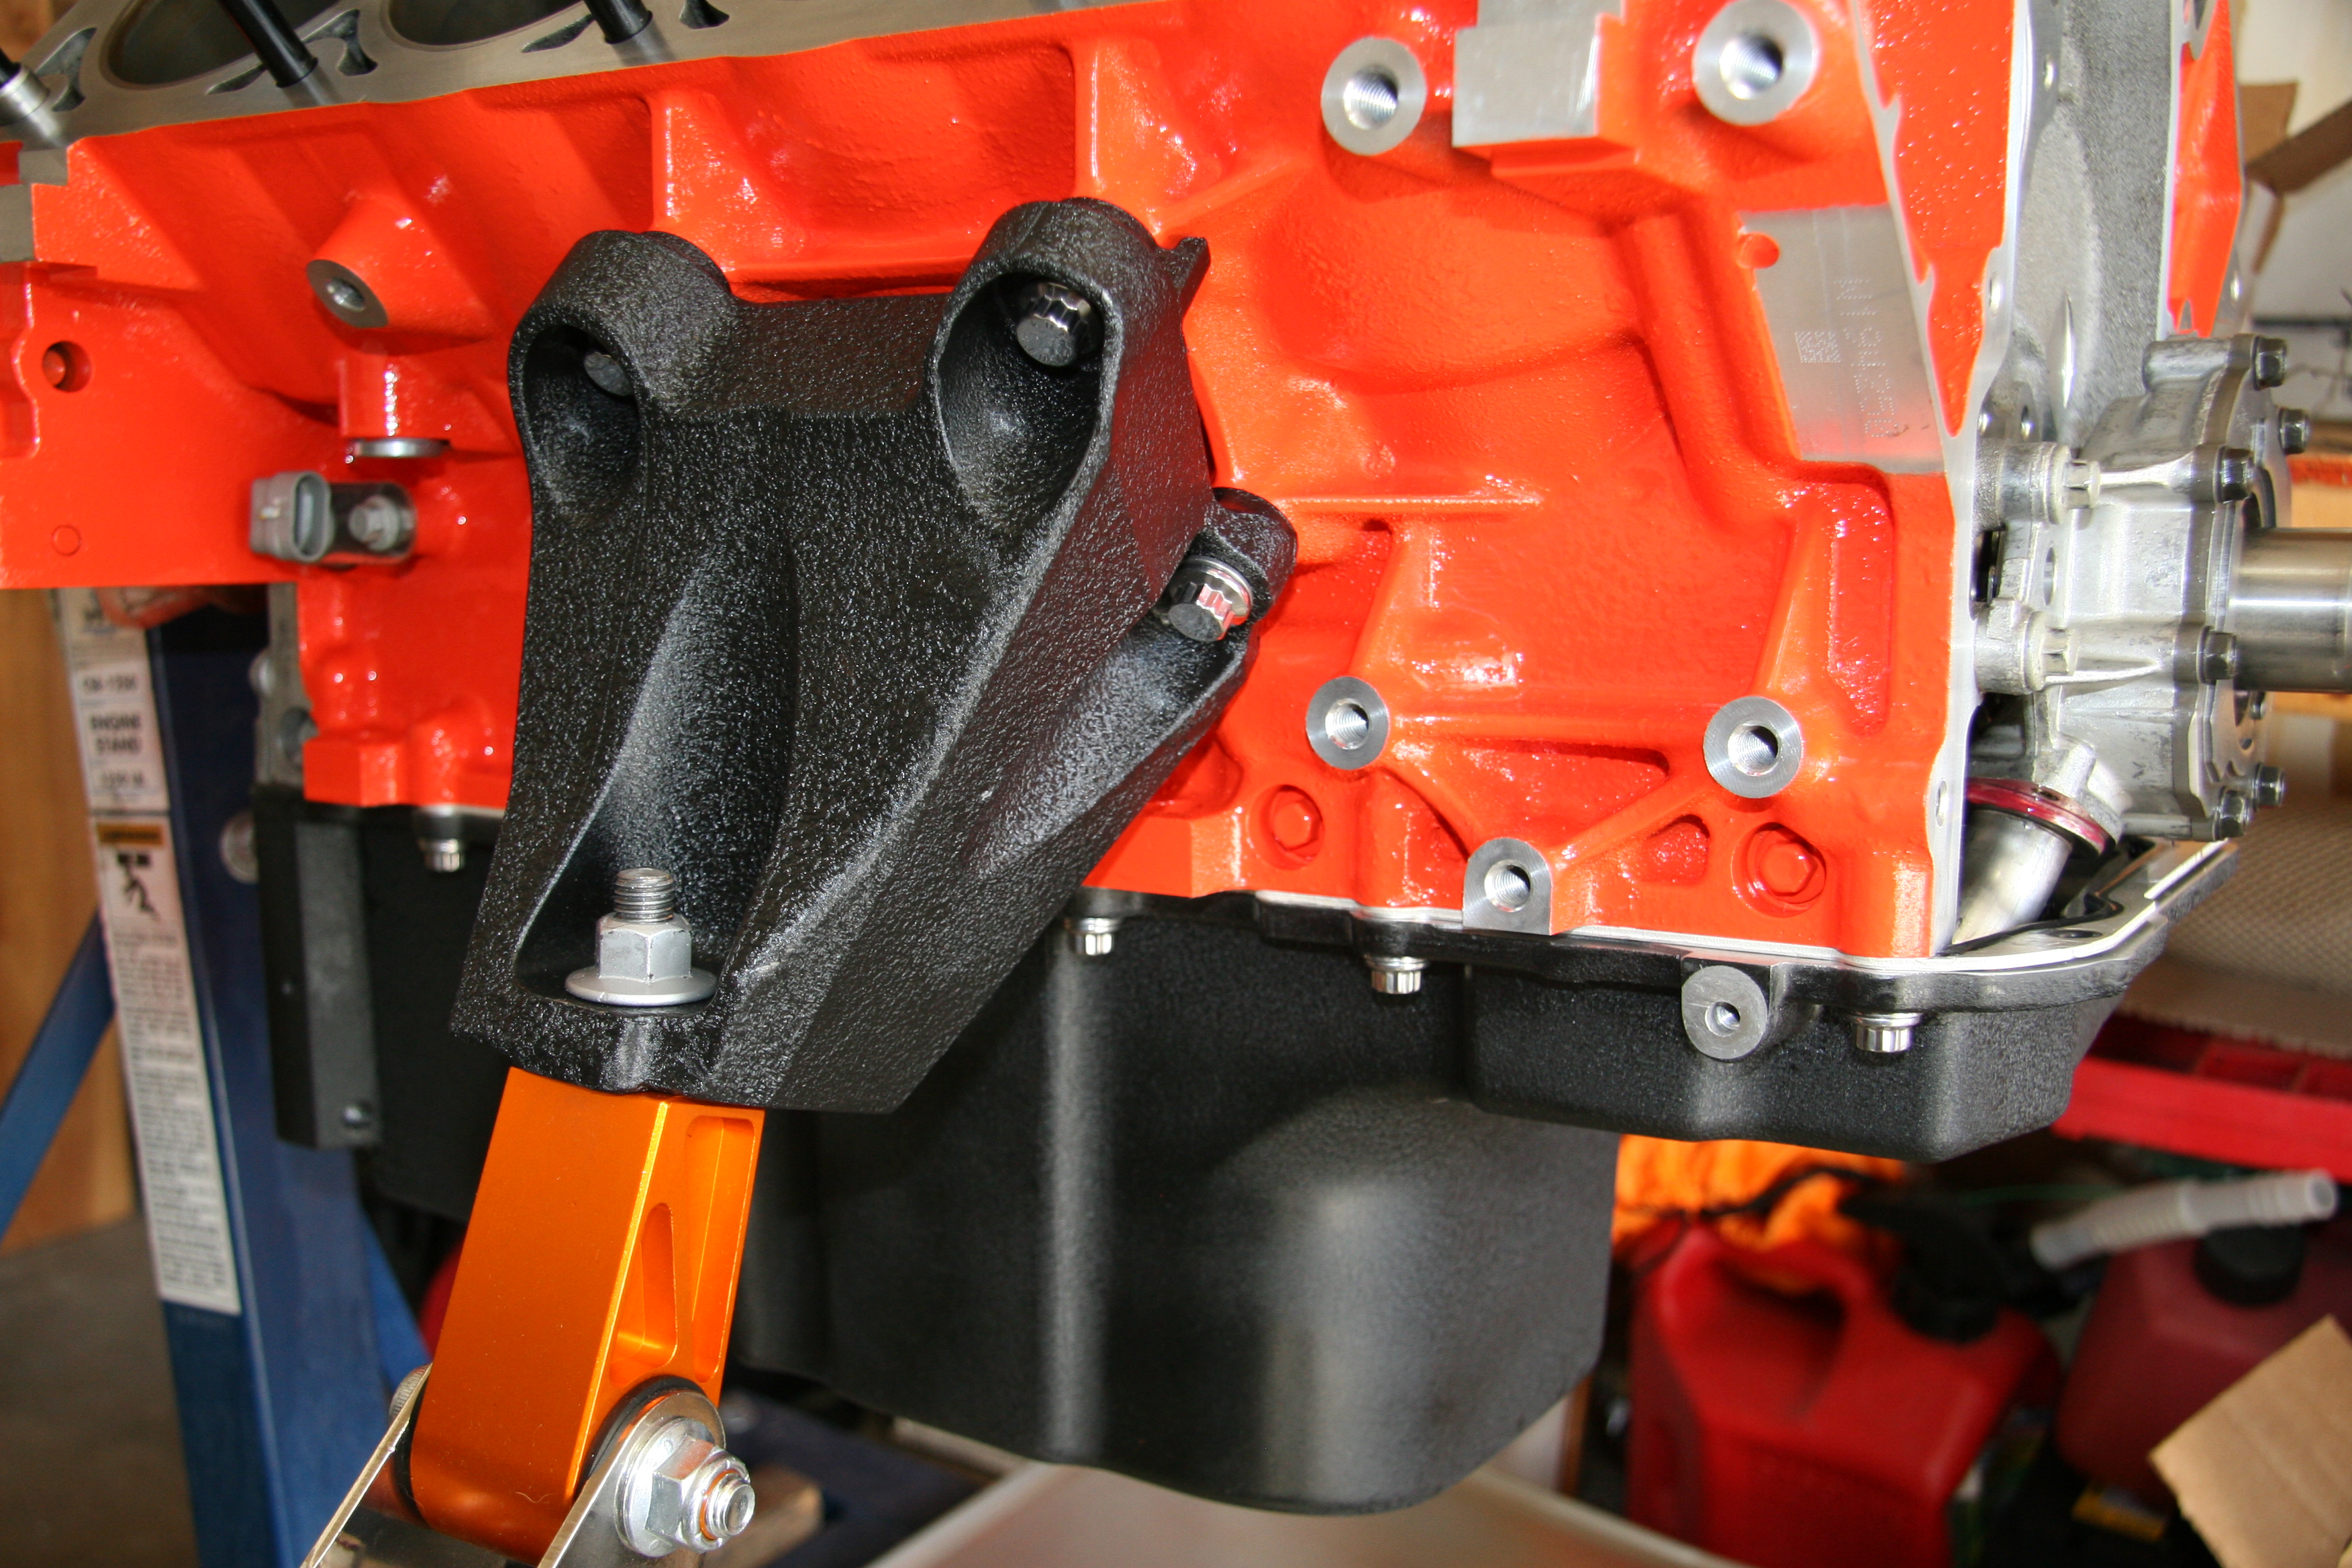
Segment 3 of the LS3 Conversion is focused on the camshaft installation and some detail work. With the short block complete I next installed the ARP head studs and PFADT Racing solid engine mounts. Going from a liquid filled mount to a solid makes a big difference in how the entire car feels. With an aggressive, loping camshaft you will feel all of the engine vibration especially at idle. This is something to consider if your car is a daily driver.
Short block details

ARP Head Studs installed

PFADT Solid engine mounts and the A/C compressor bracket are secured with ARP 12pt stainless bolts.

One of the most common questions I am asked and see on the forums is “what is the best camshaft for my Camaro”? In my opinion there is no best option. Depending on your intended use and supporting mods will determine the best grind options to choose. For my application, I contacted Patrick Guerra of The Guerra Group. He has some very, specific data he uses to custom design the perfect camshaft based on your specific application. With my custom specs in hand the cam was ordered from Comp.
Cam Specifications:
227 / 234 .638” / .612” 113 LSA +3 Advance
Comp EHI/LXL Lobes
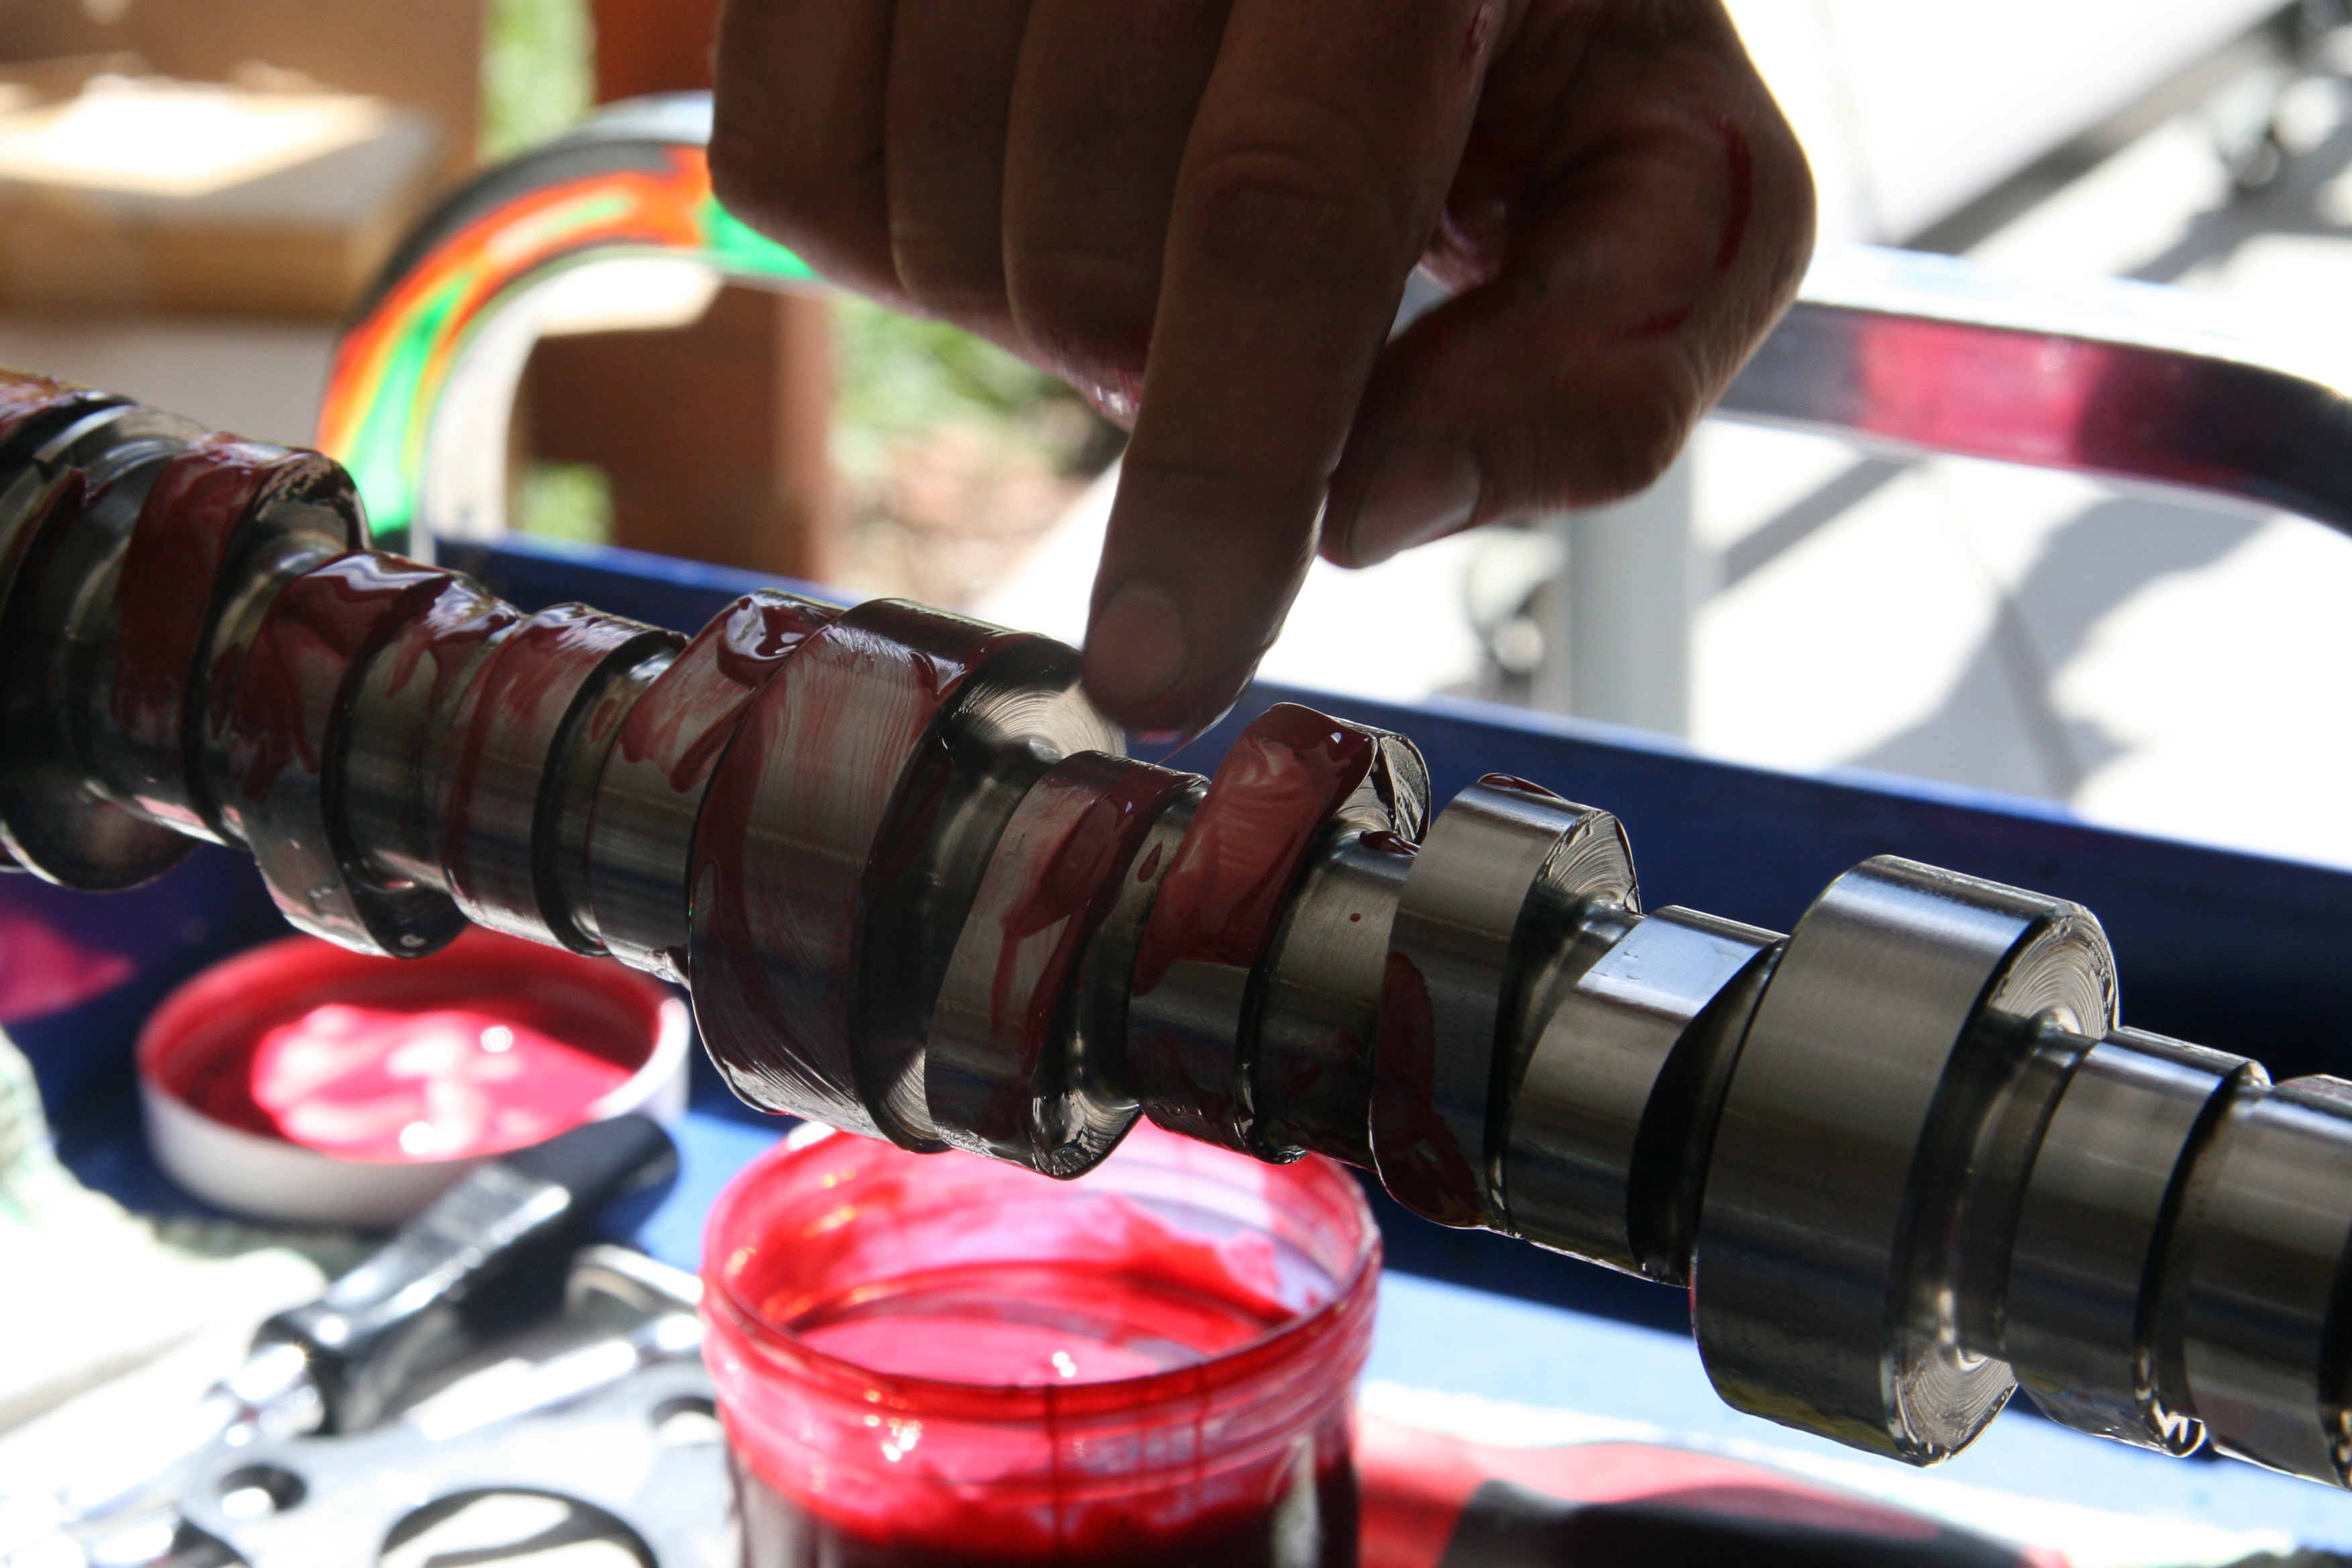
Before installing the cam a generous amount of lube should be installed on the lobes and bearing journals. I used Redline Oil engine assembly lube.
With the cam installed, next the retaining plate is installed.
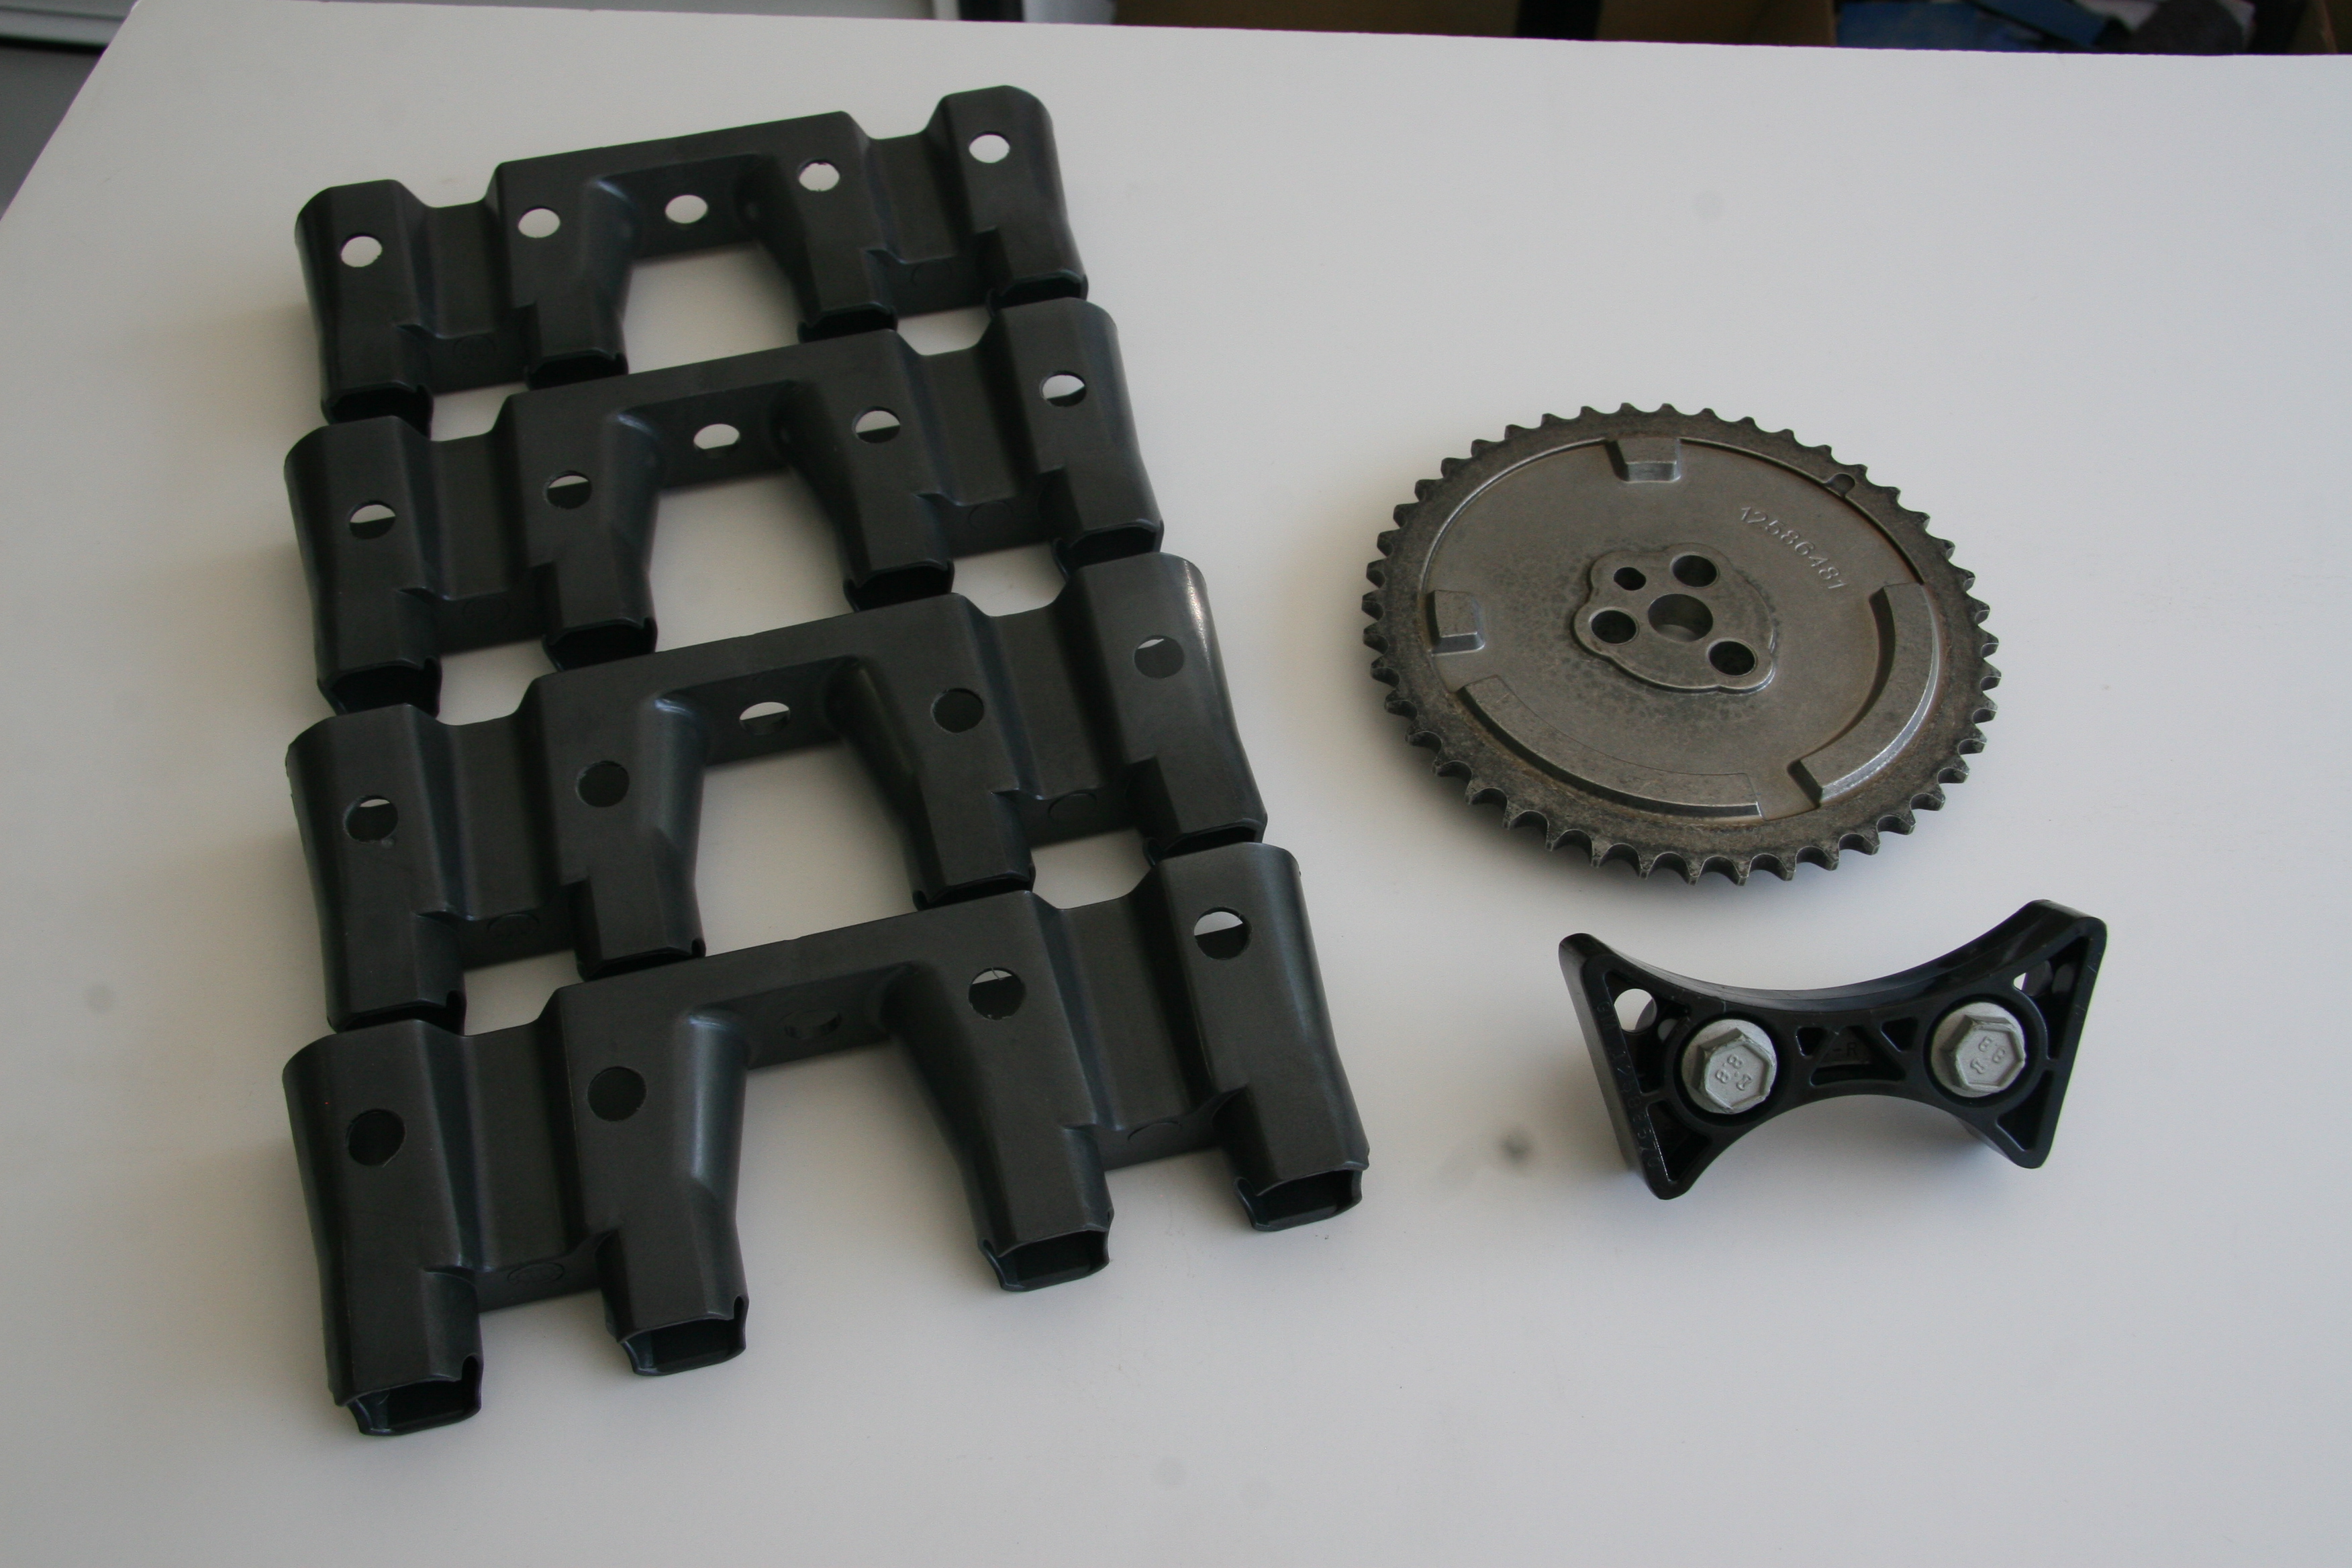
When ordering a new camshaft you will have a choice of a 1 bolt or 3 bolt cam core. I chose the 3 bolt option and secured the GM cam sprocket with ARP bolts. New lifter trays and the wedge style dampener were also used. These parts are available from your local Chevy dealer. One modification I did to the lifter trays was to drill a 3/8 hole in the bottom side. This helps to drain the oil faster at high RPM.
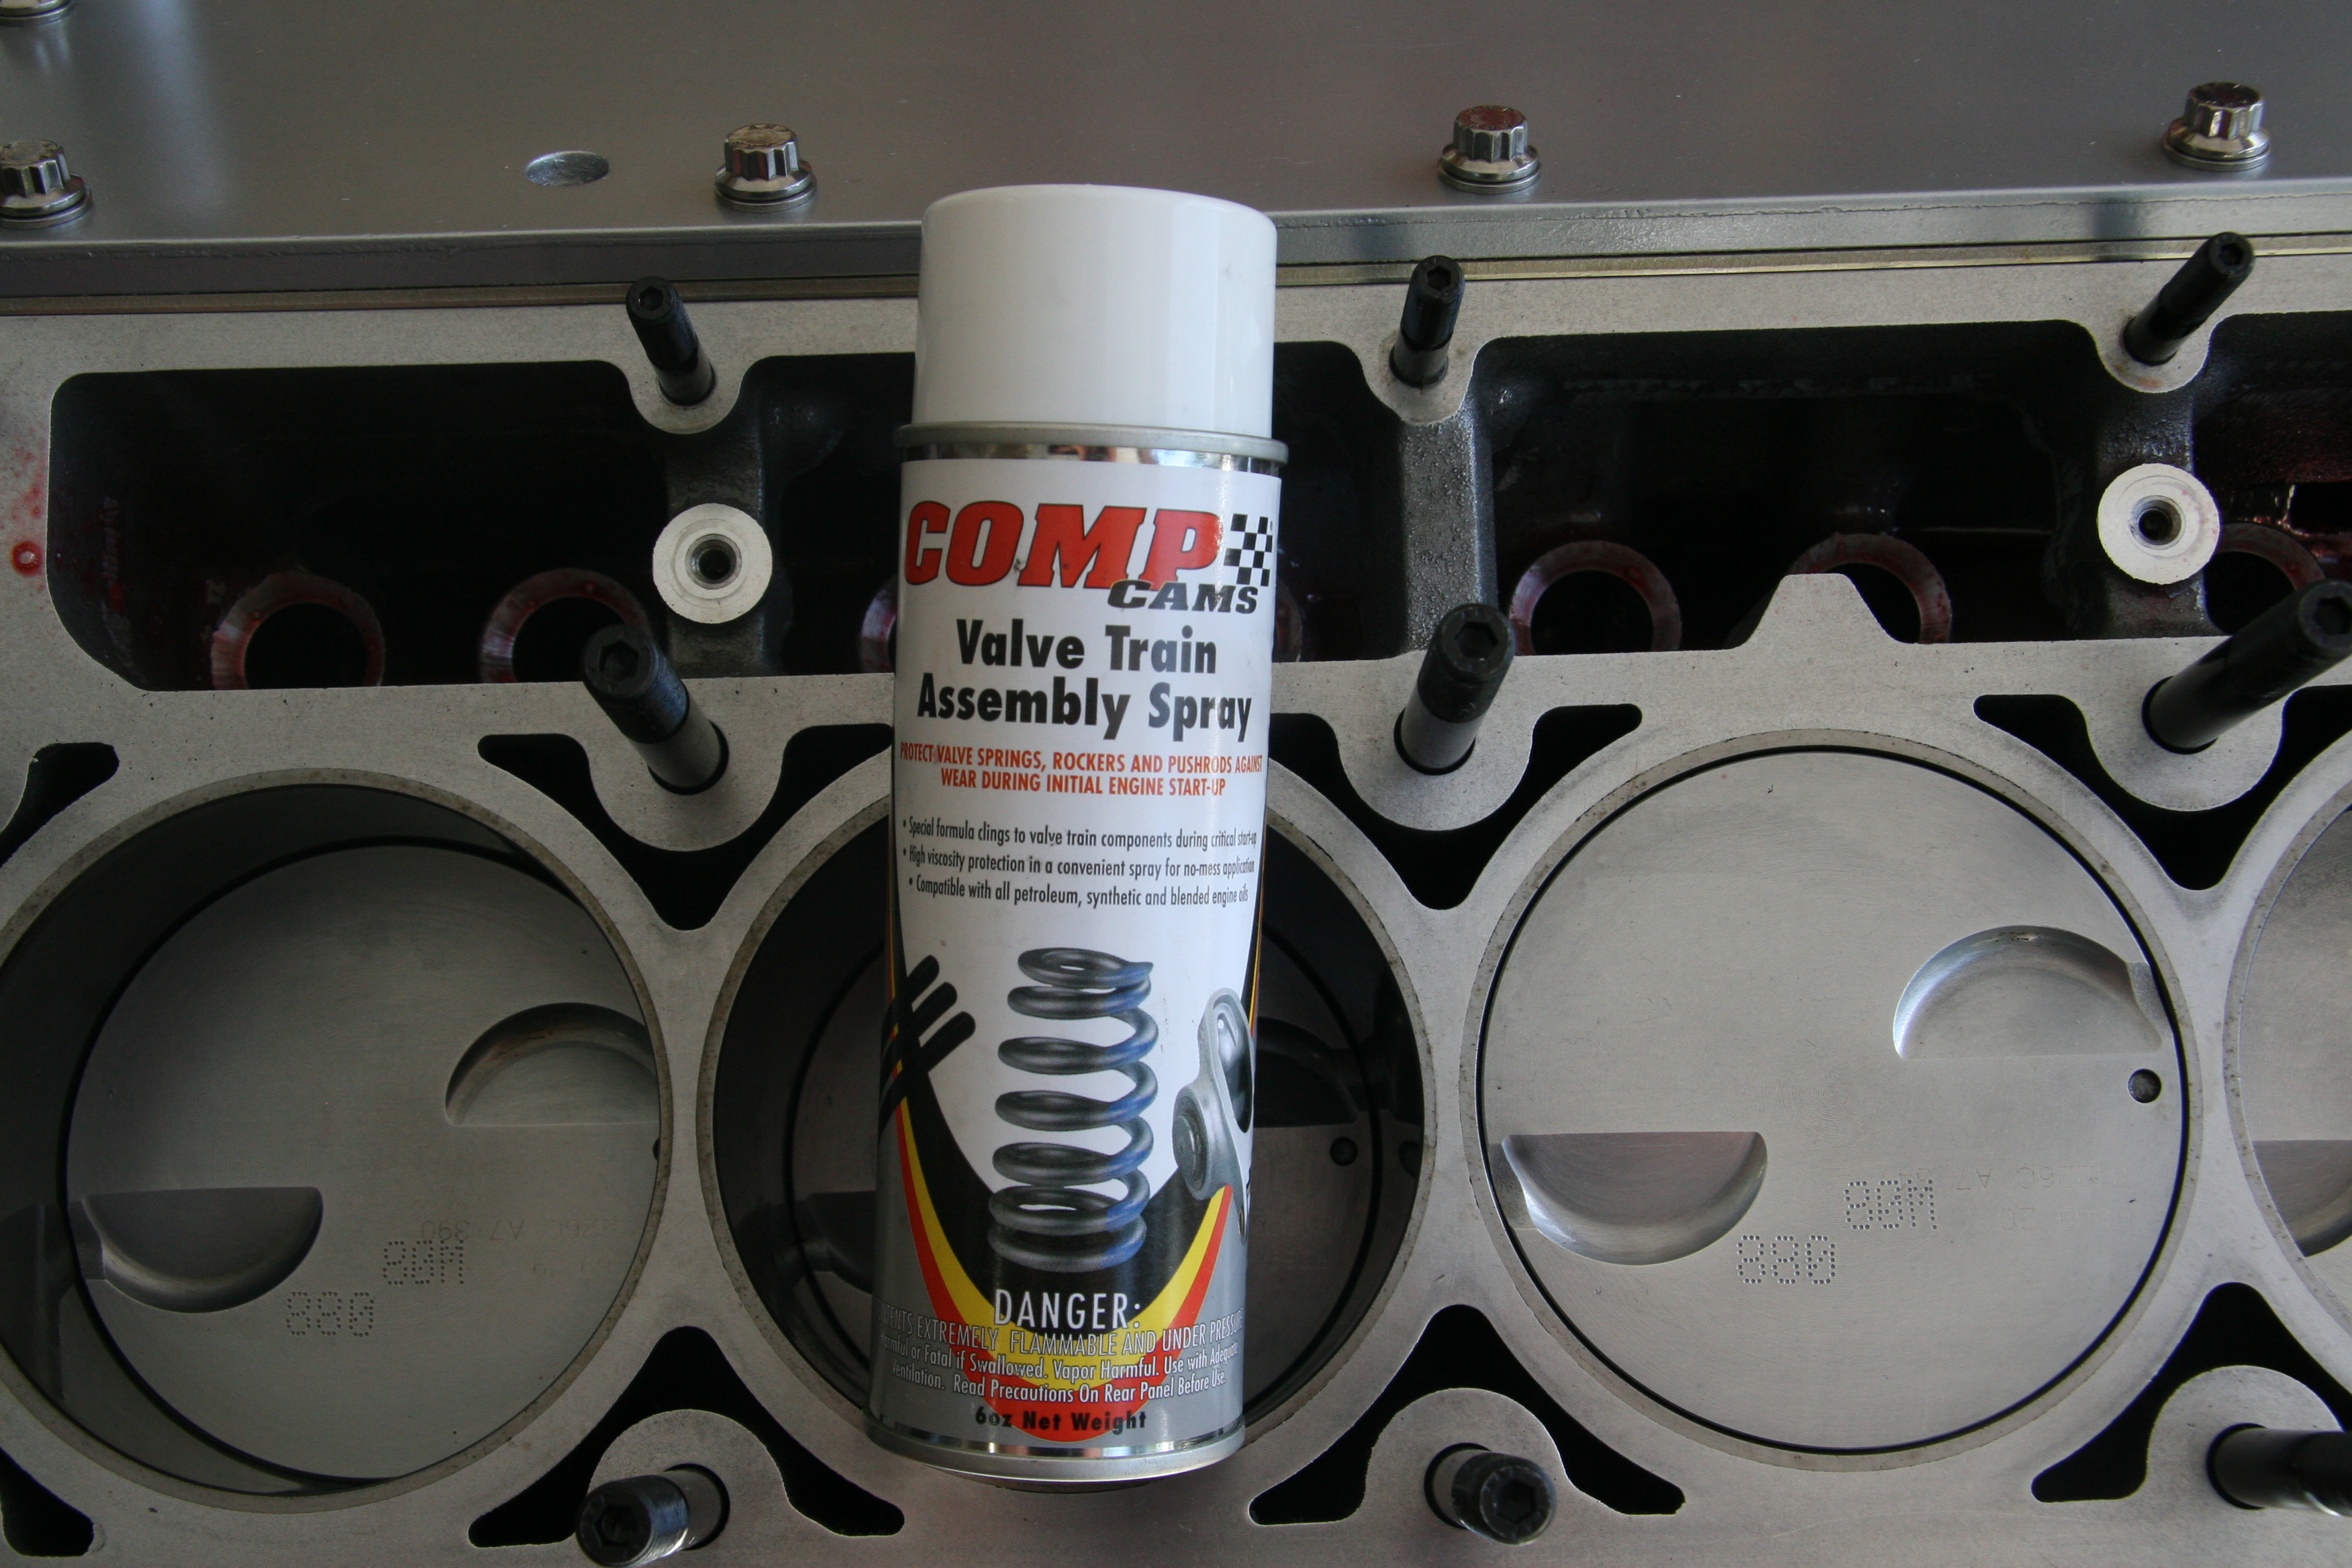
Before installing the Brian Tooley Racing (BTR) lifters I gave them a coat of Comp Cams assembly spray. The lifters are then installed into the new trays and bolted into the engine block.
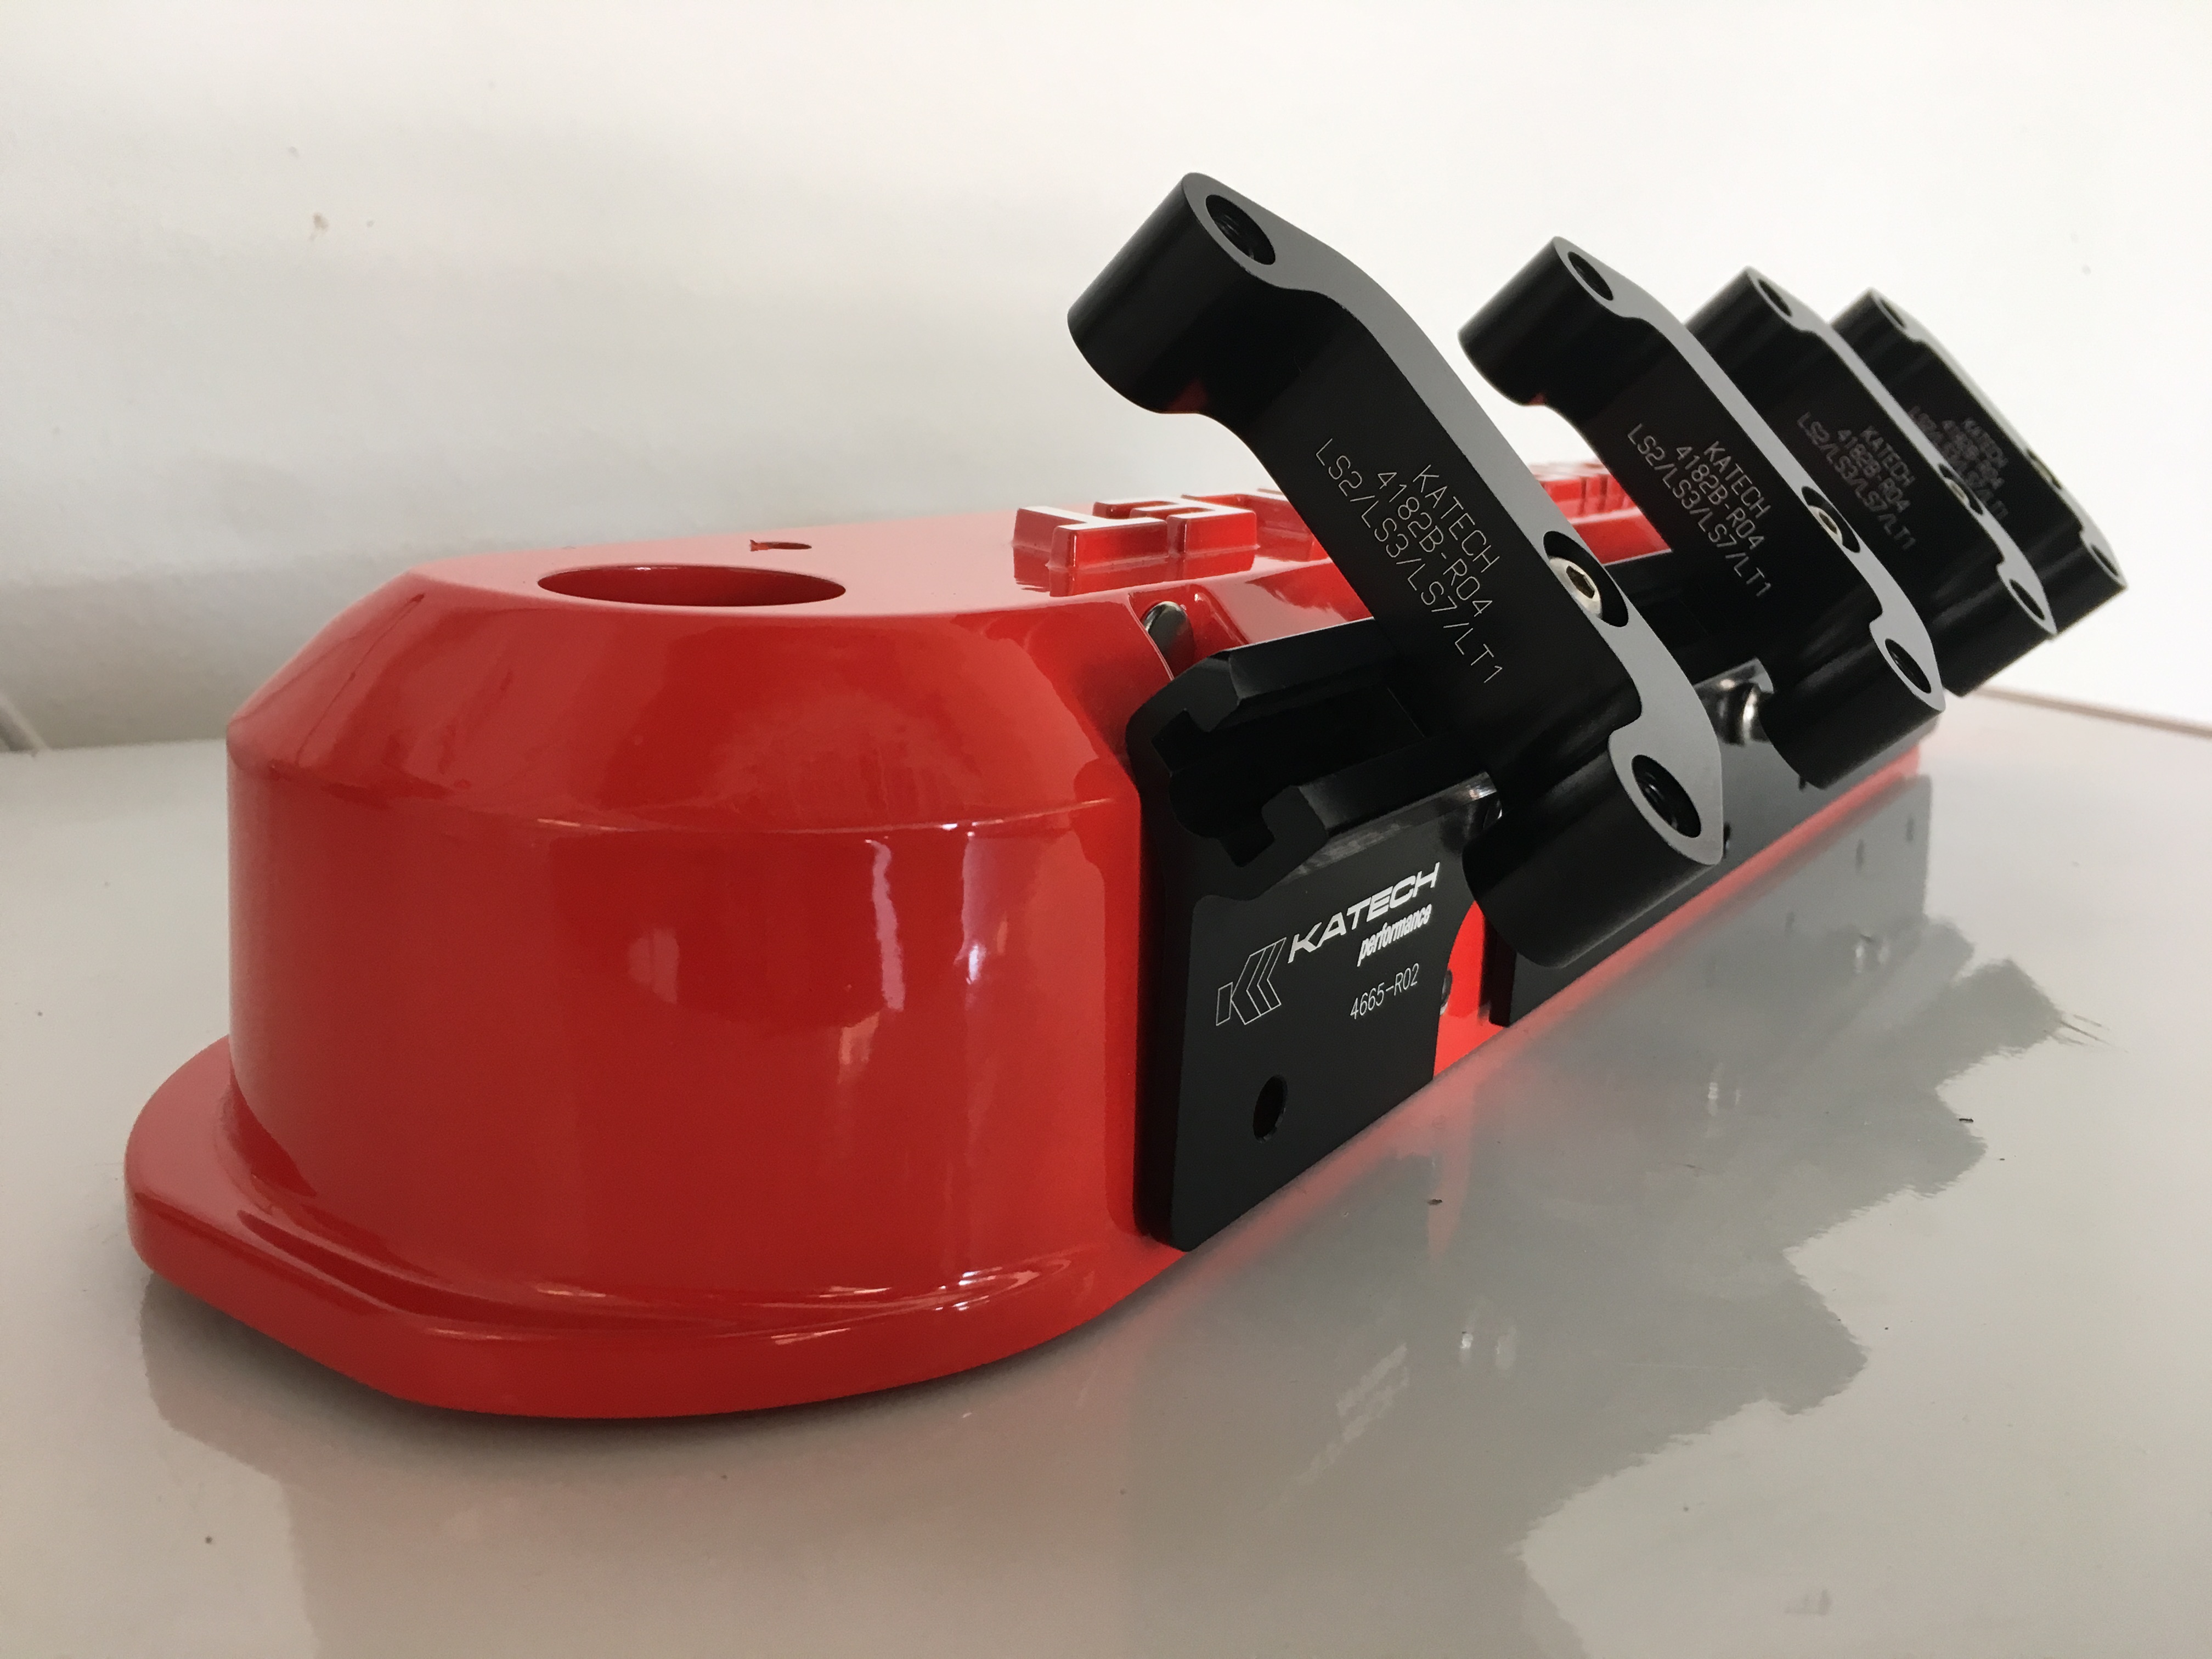
Lifter trays, 3 bolt sprocket and the LS3 wedge dampener
Comp Cams valve train assembly lube
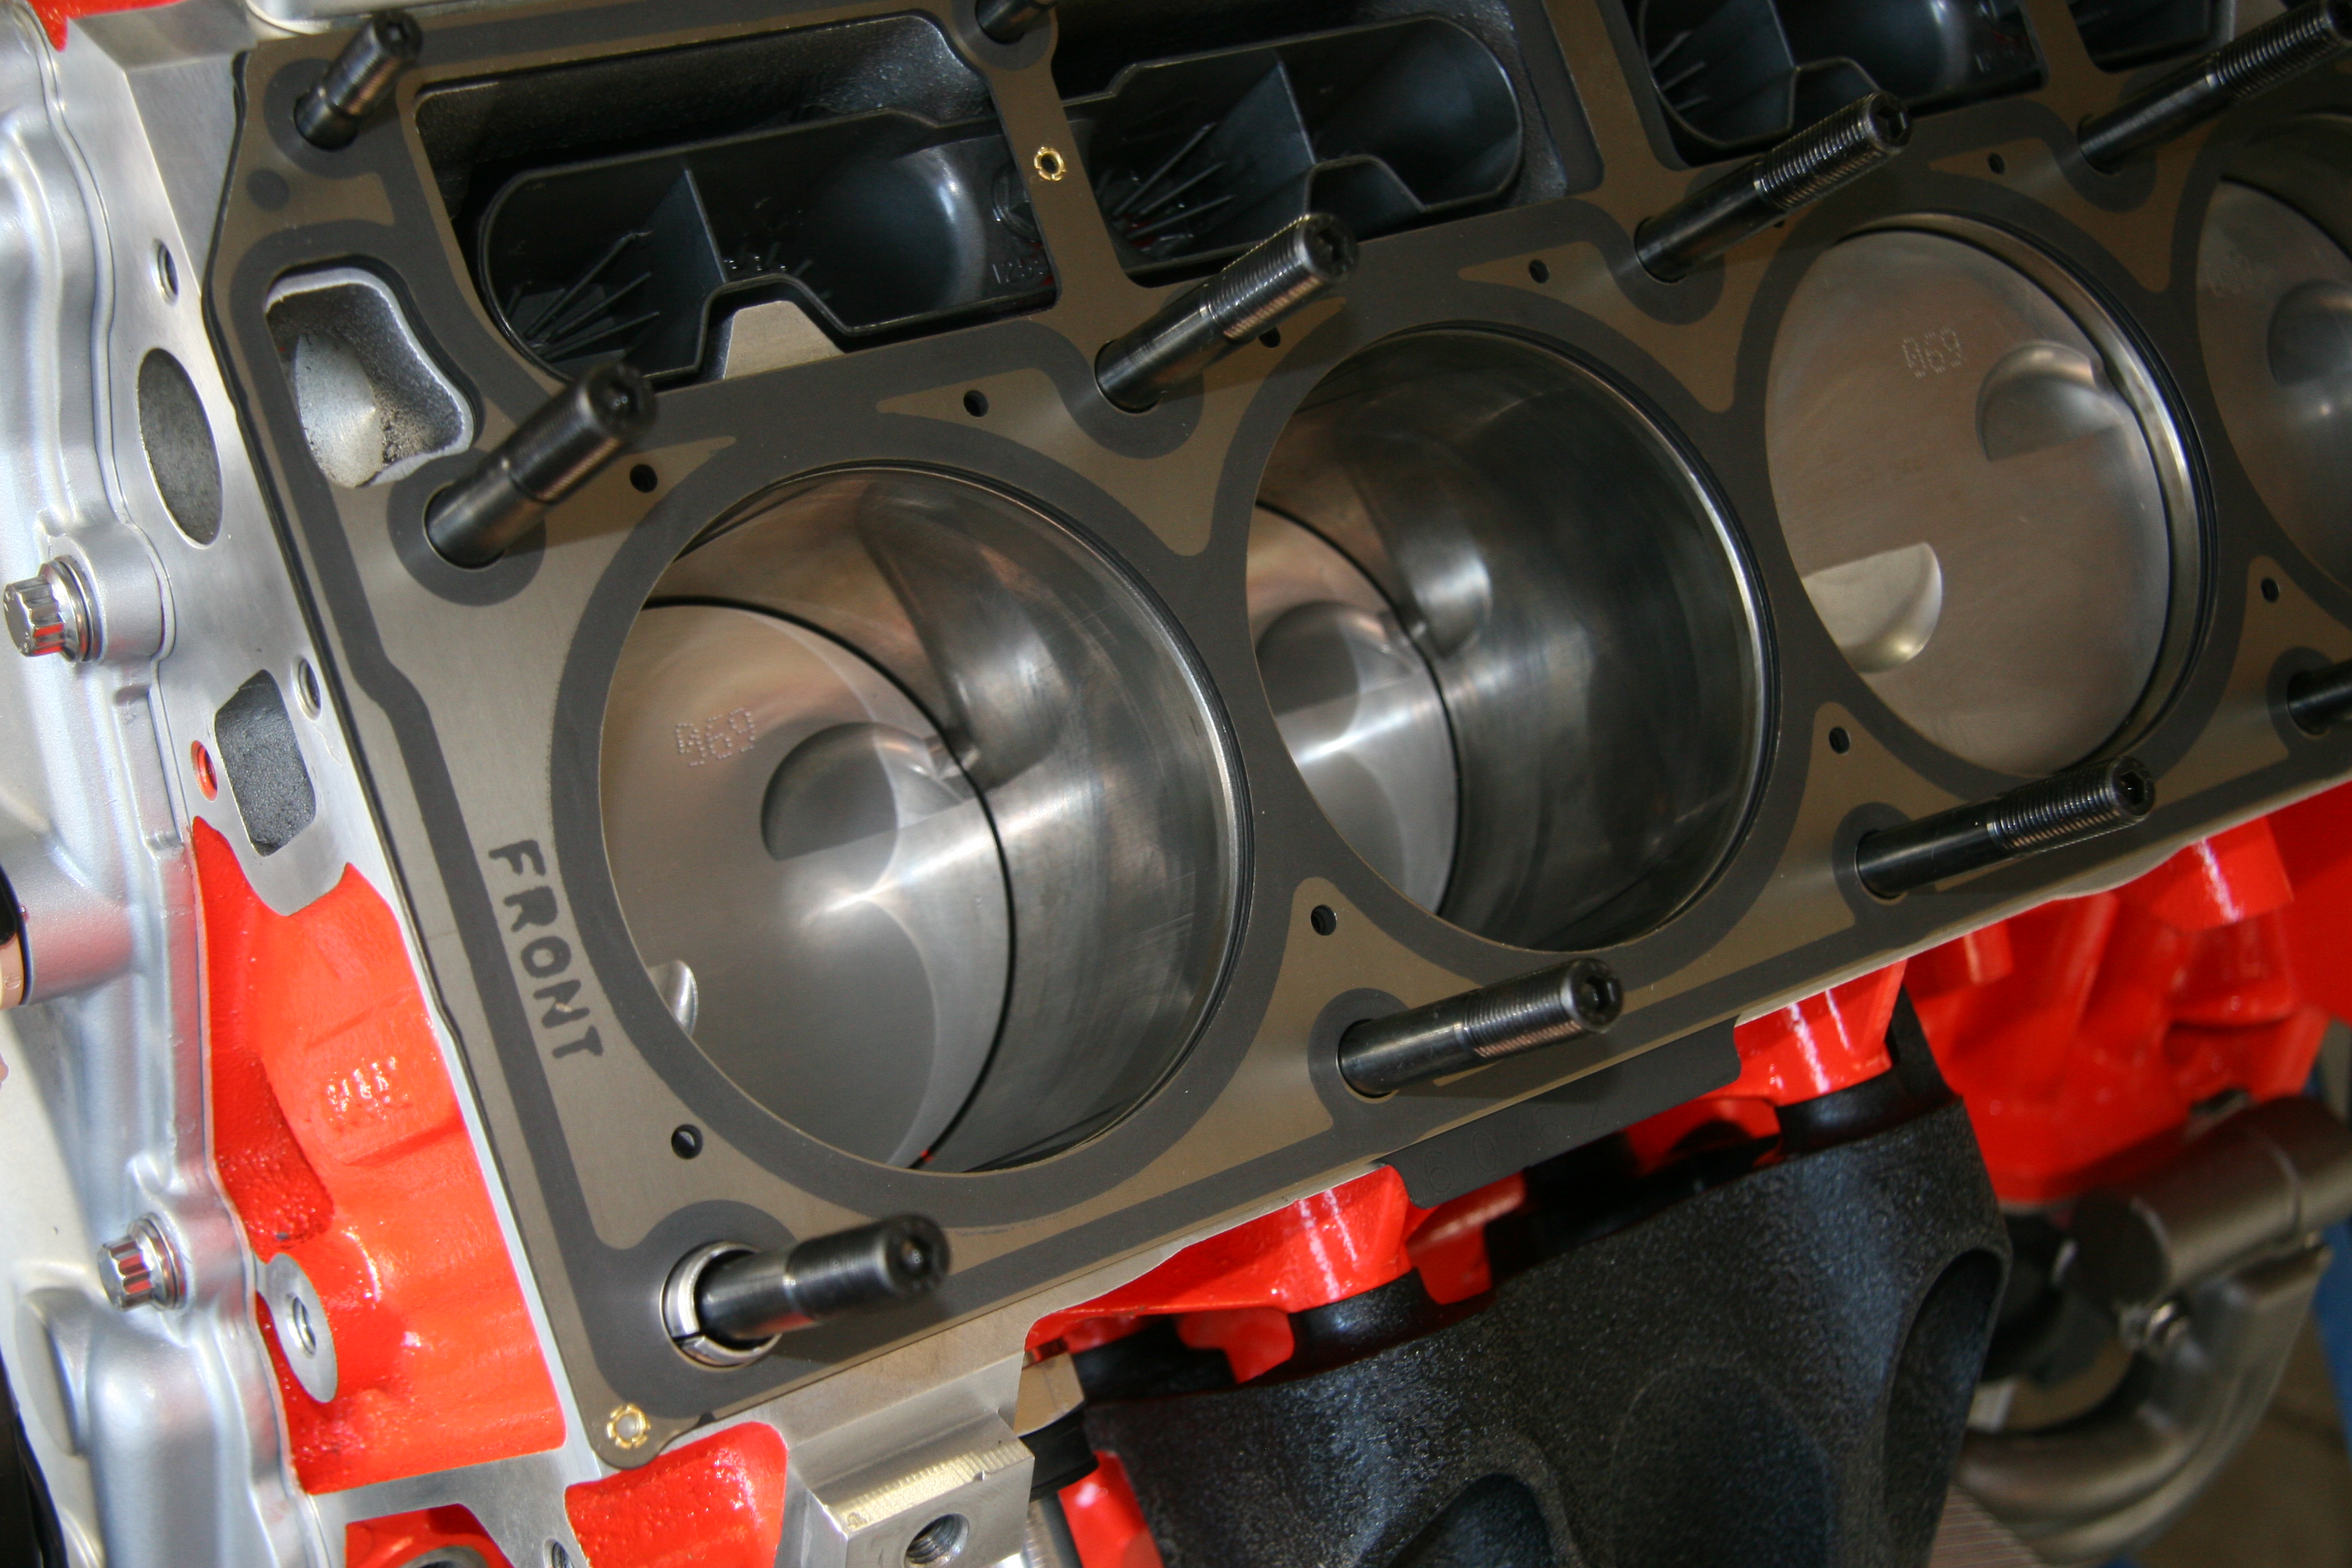
Next the GM head gaskets are set into place
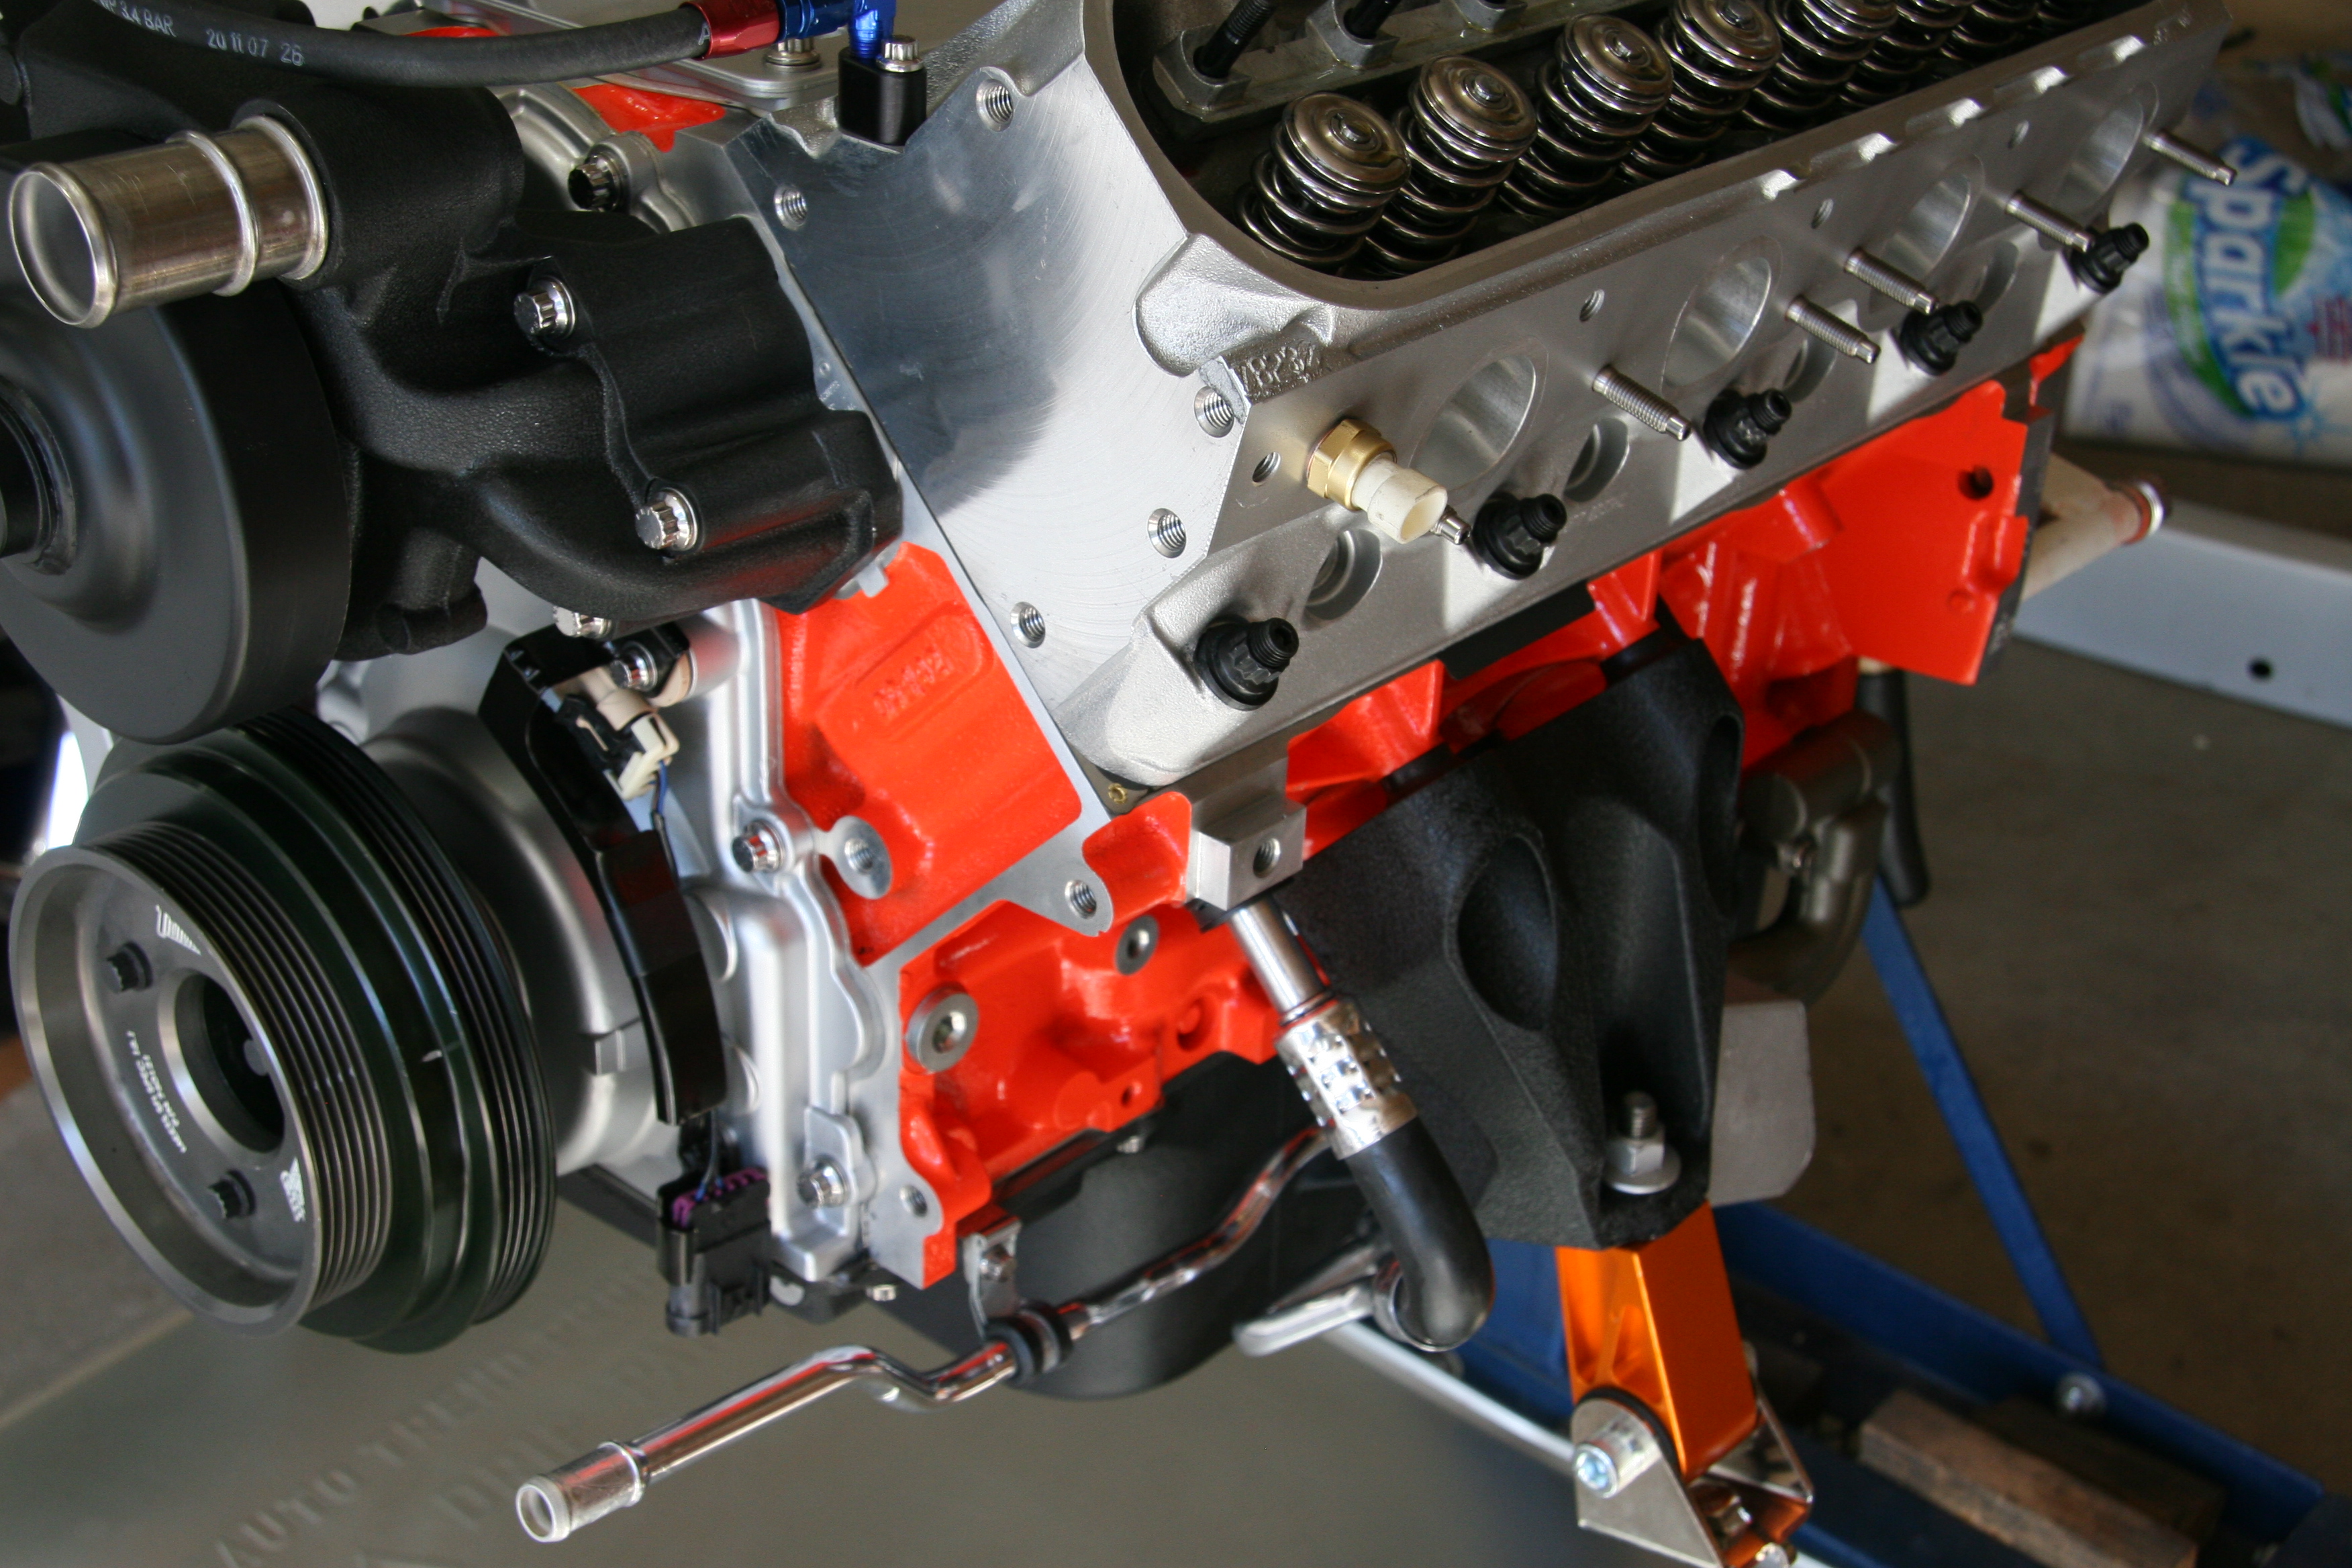
The cylinder head work done by WCCH is nothing short of amazing! Their stage 2 program maximizes the intake, exhaust and combustion chambers to their fullest potential. I had the deck surface machined .007 to increase the compression. This was the maximum I could machine and maintain the proper piston to valve clearance. With the heads installed the ARP studs were torqued in sequence to specification.

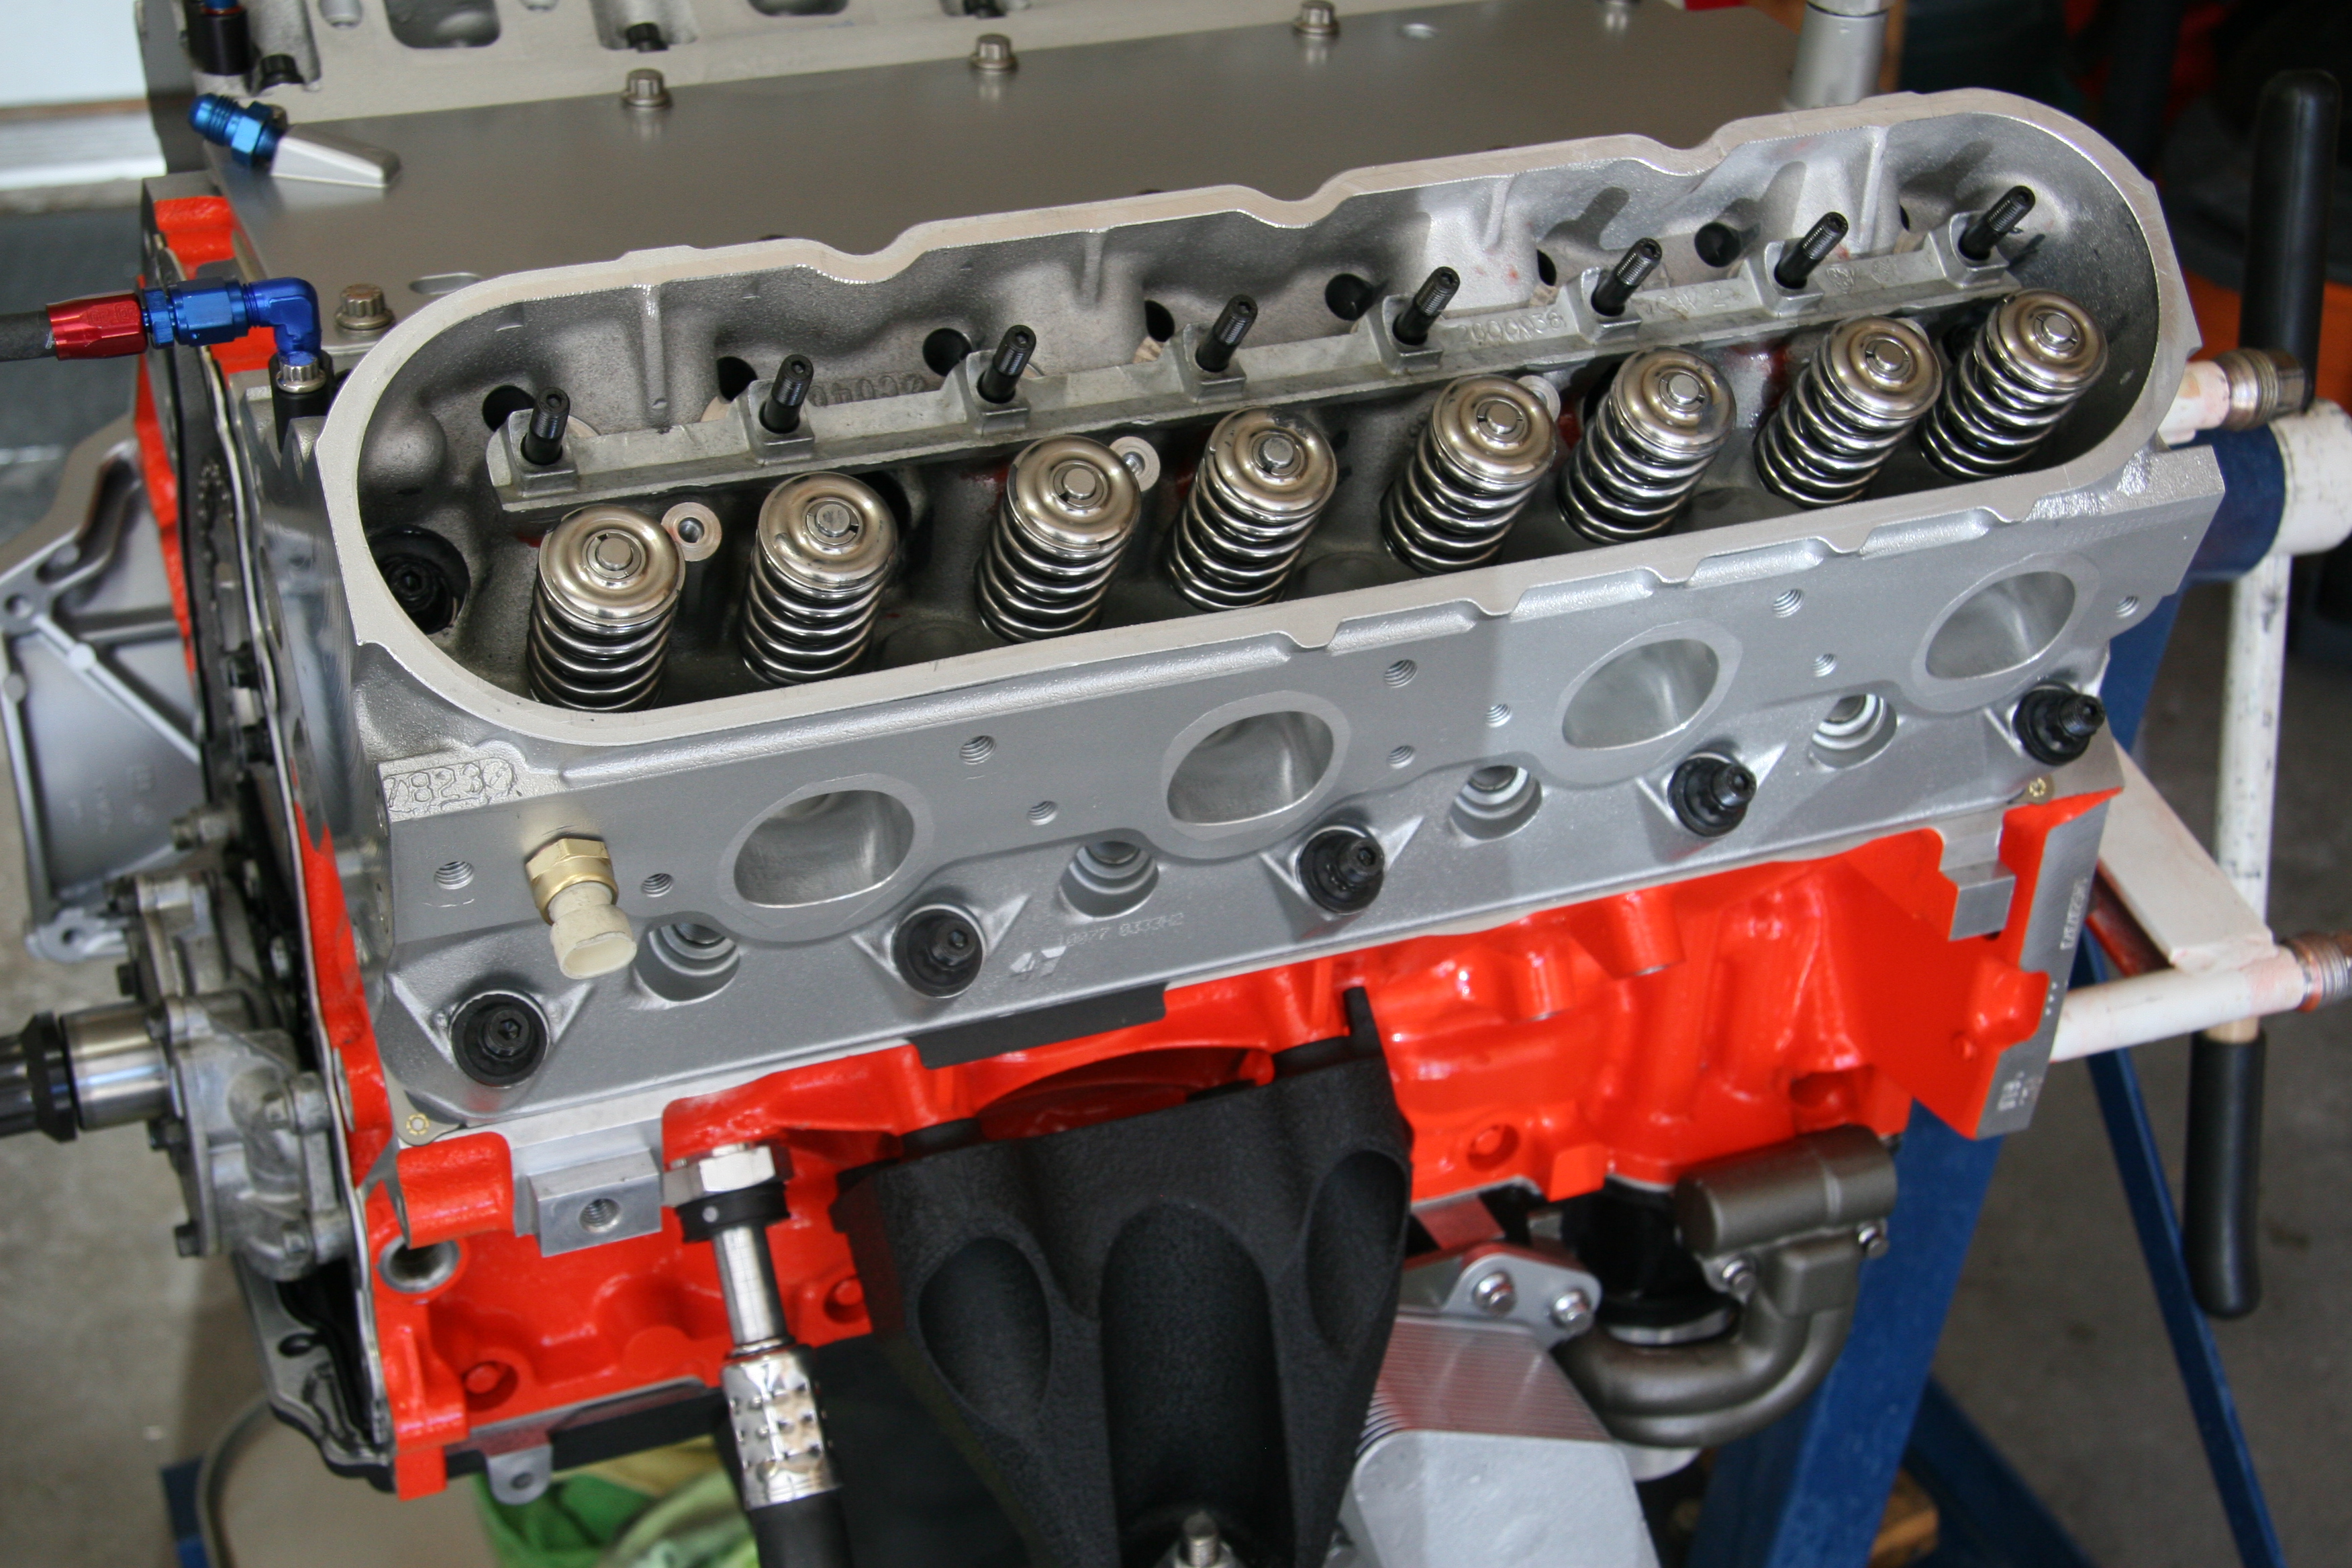
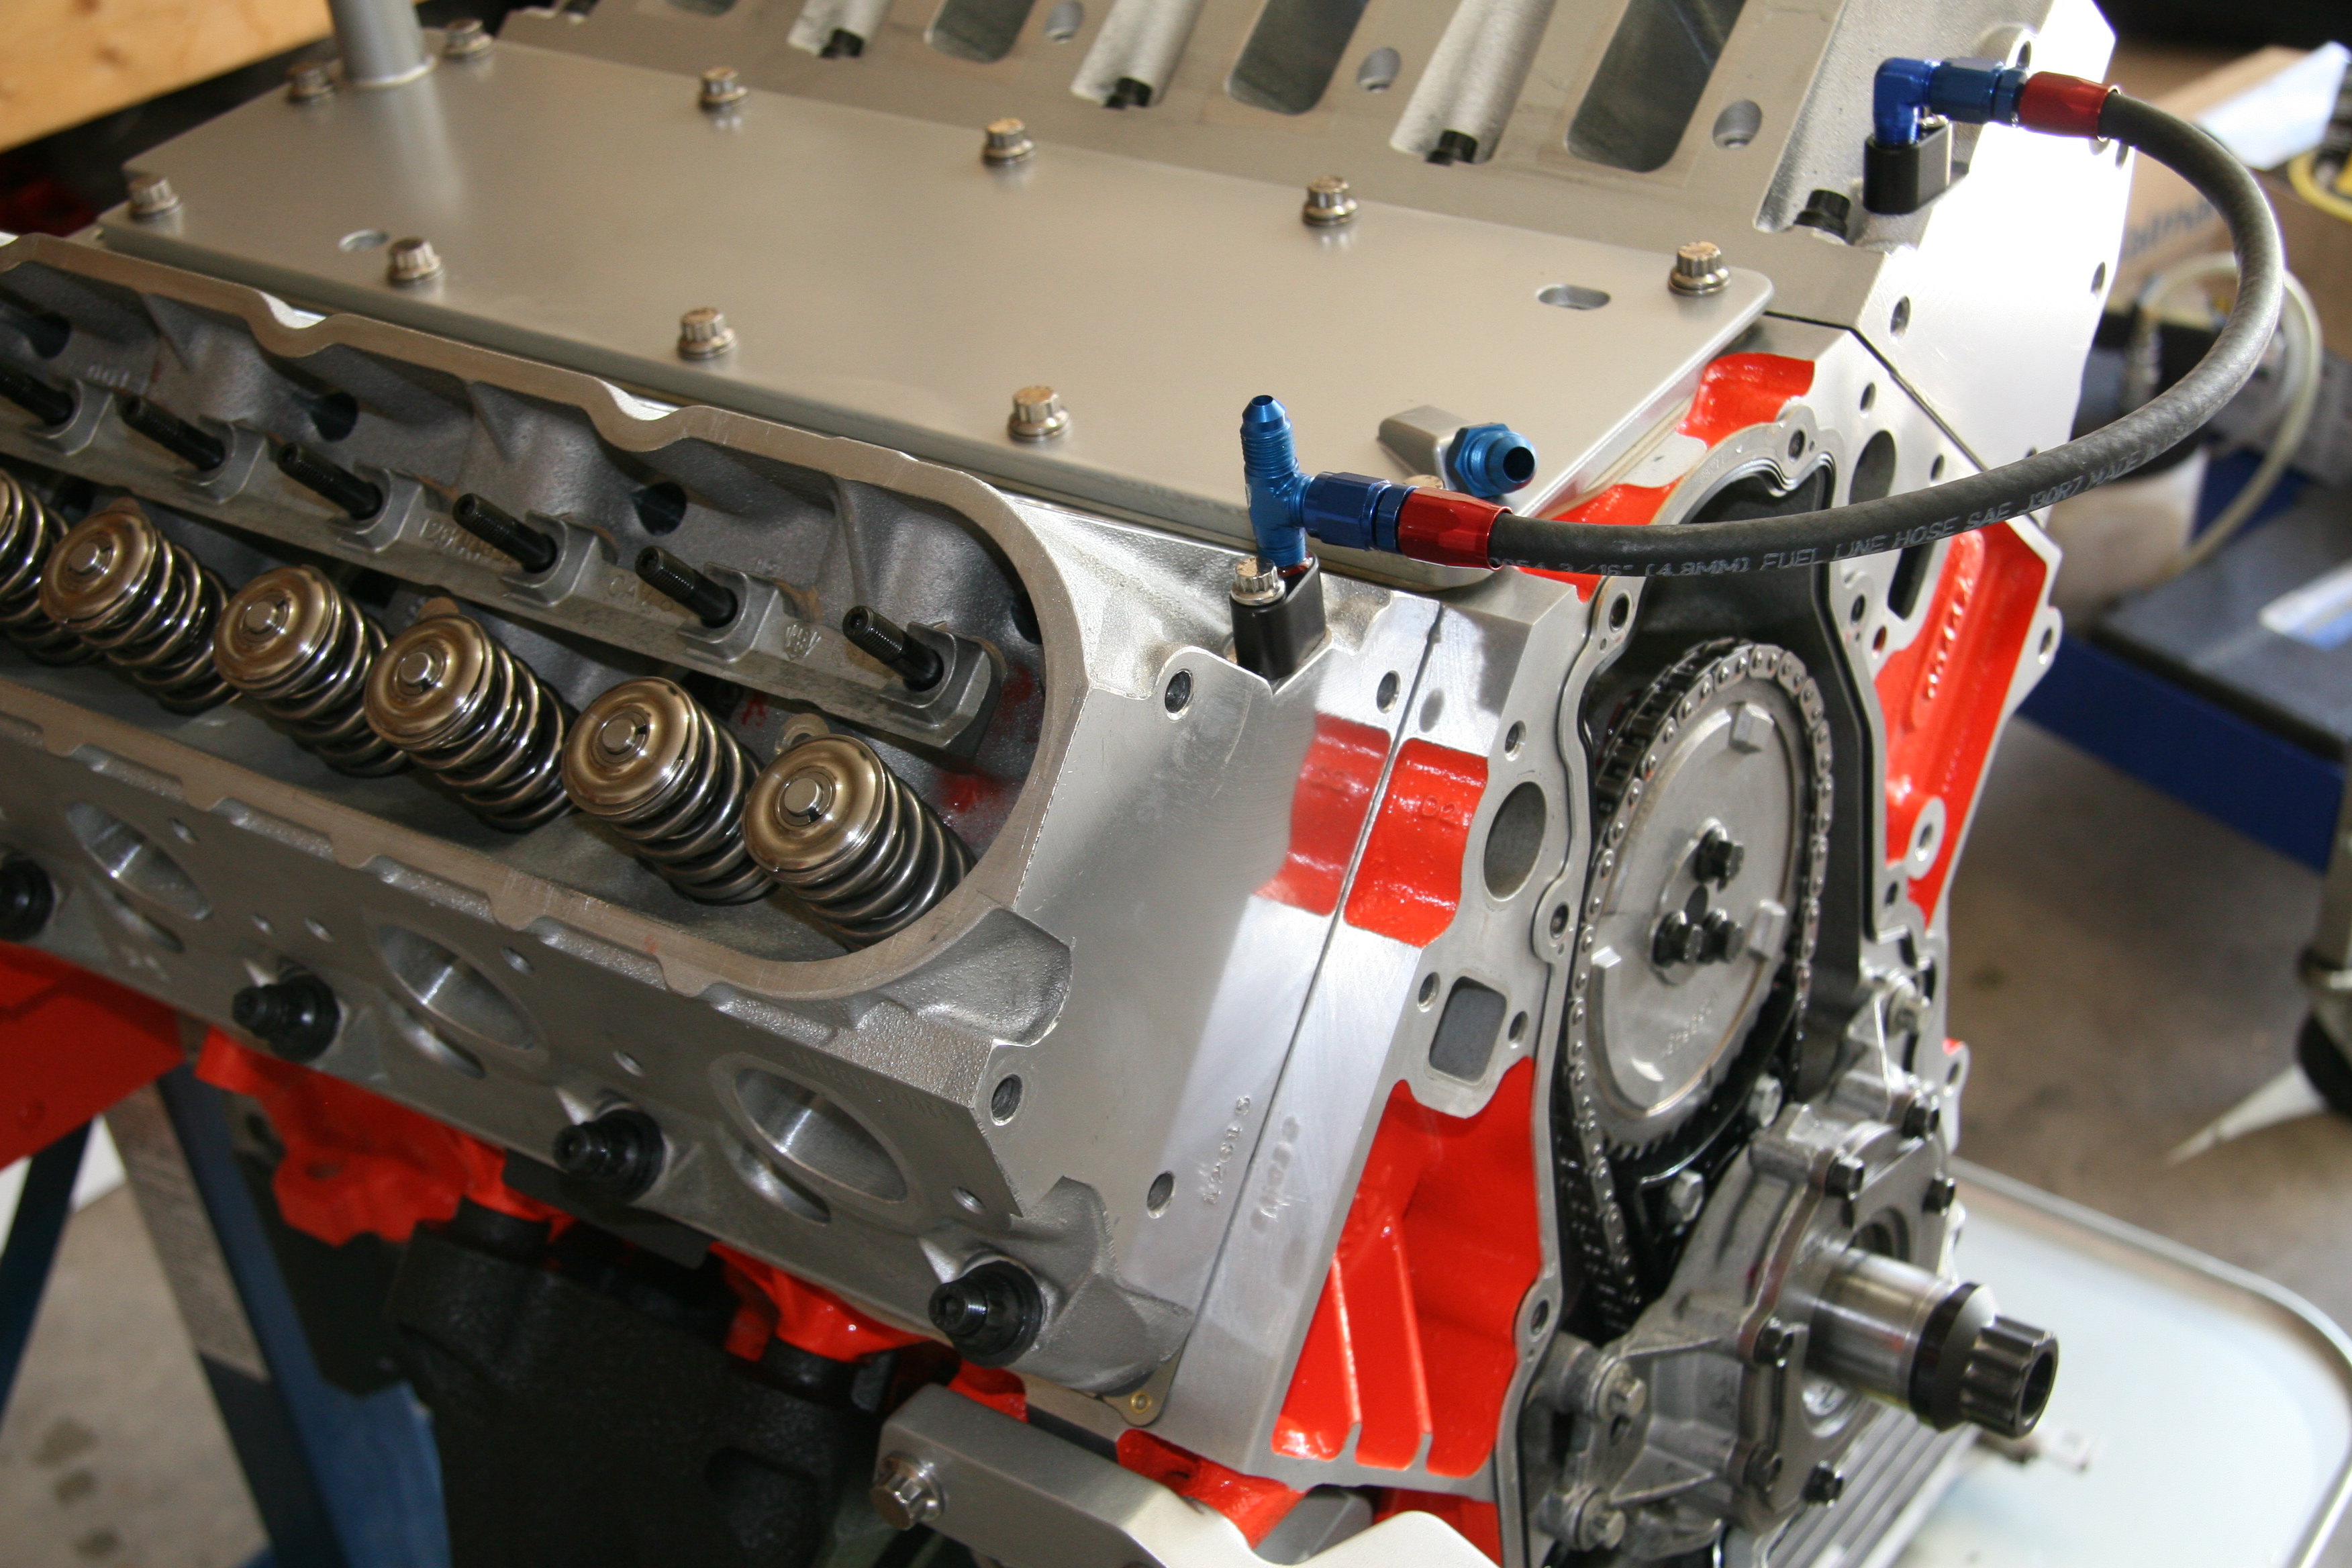
After the heads are torqued the ARP header studs are installed.

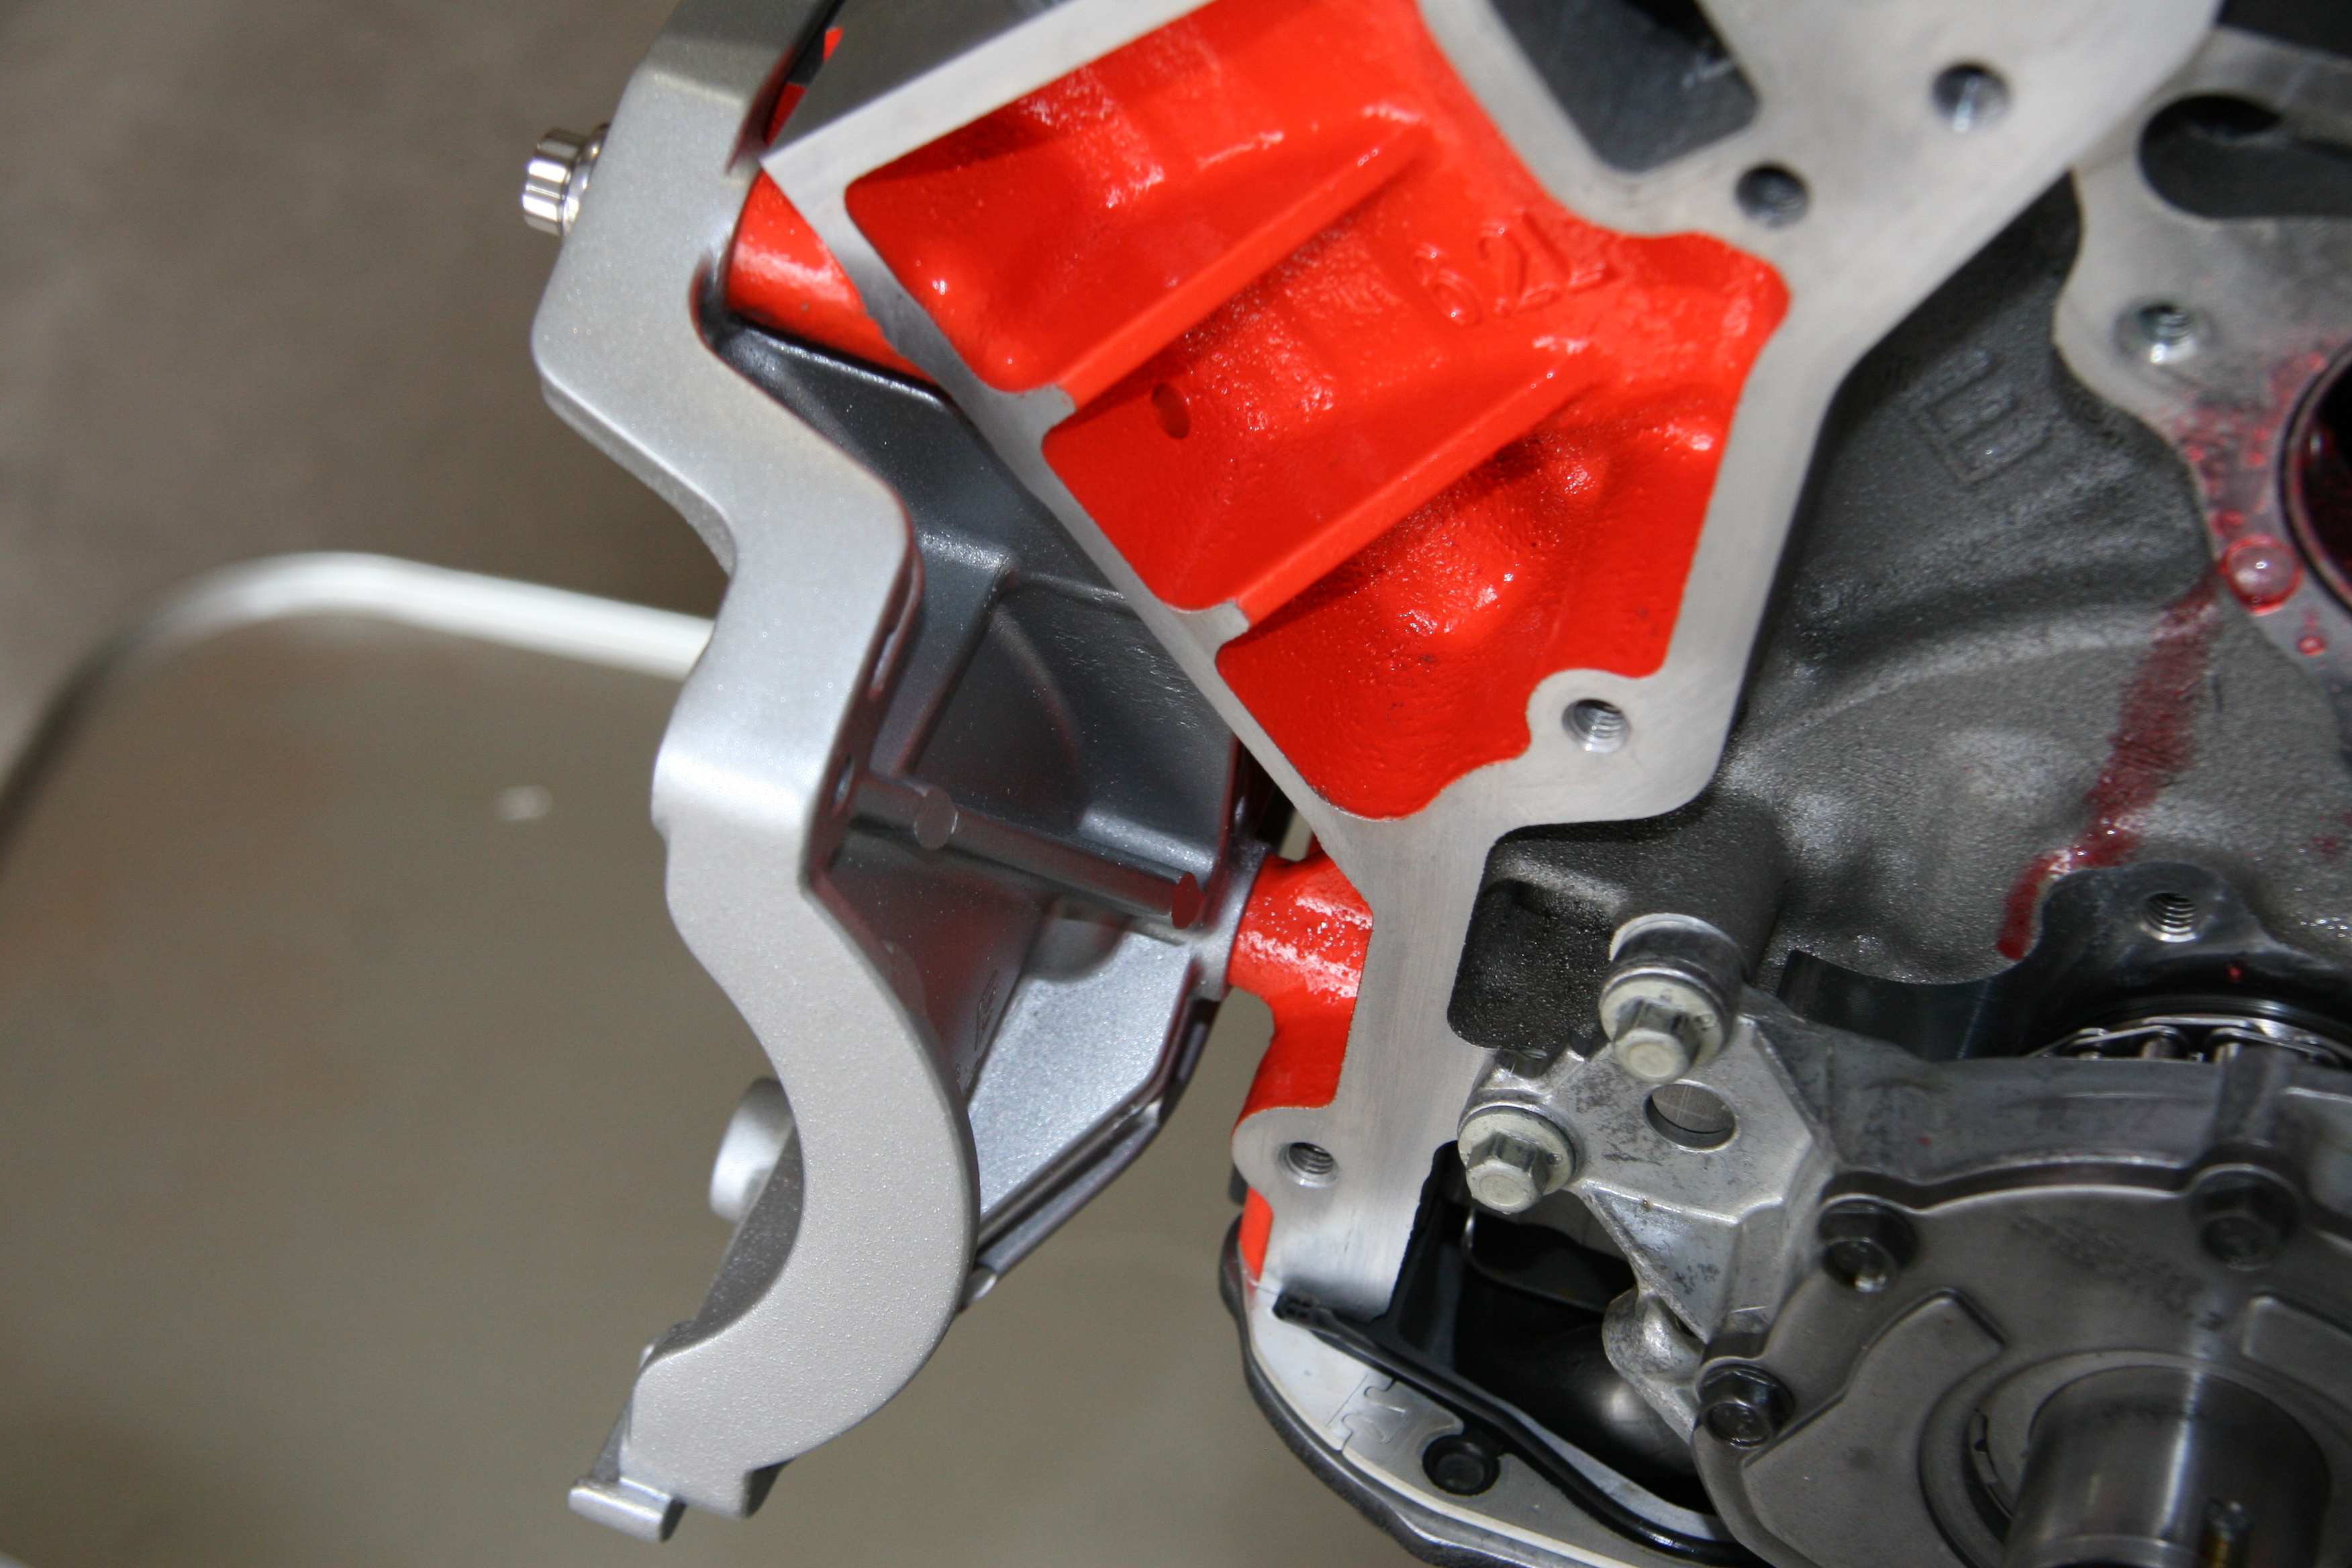
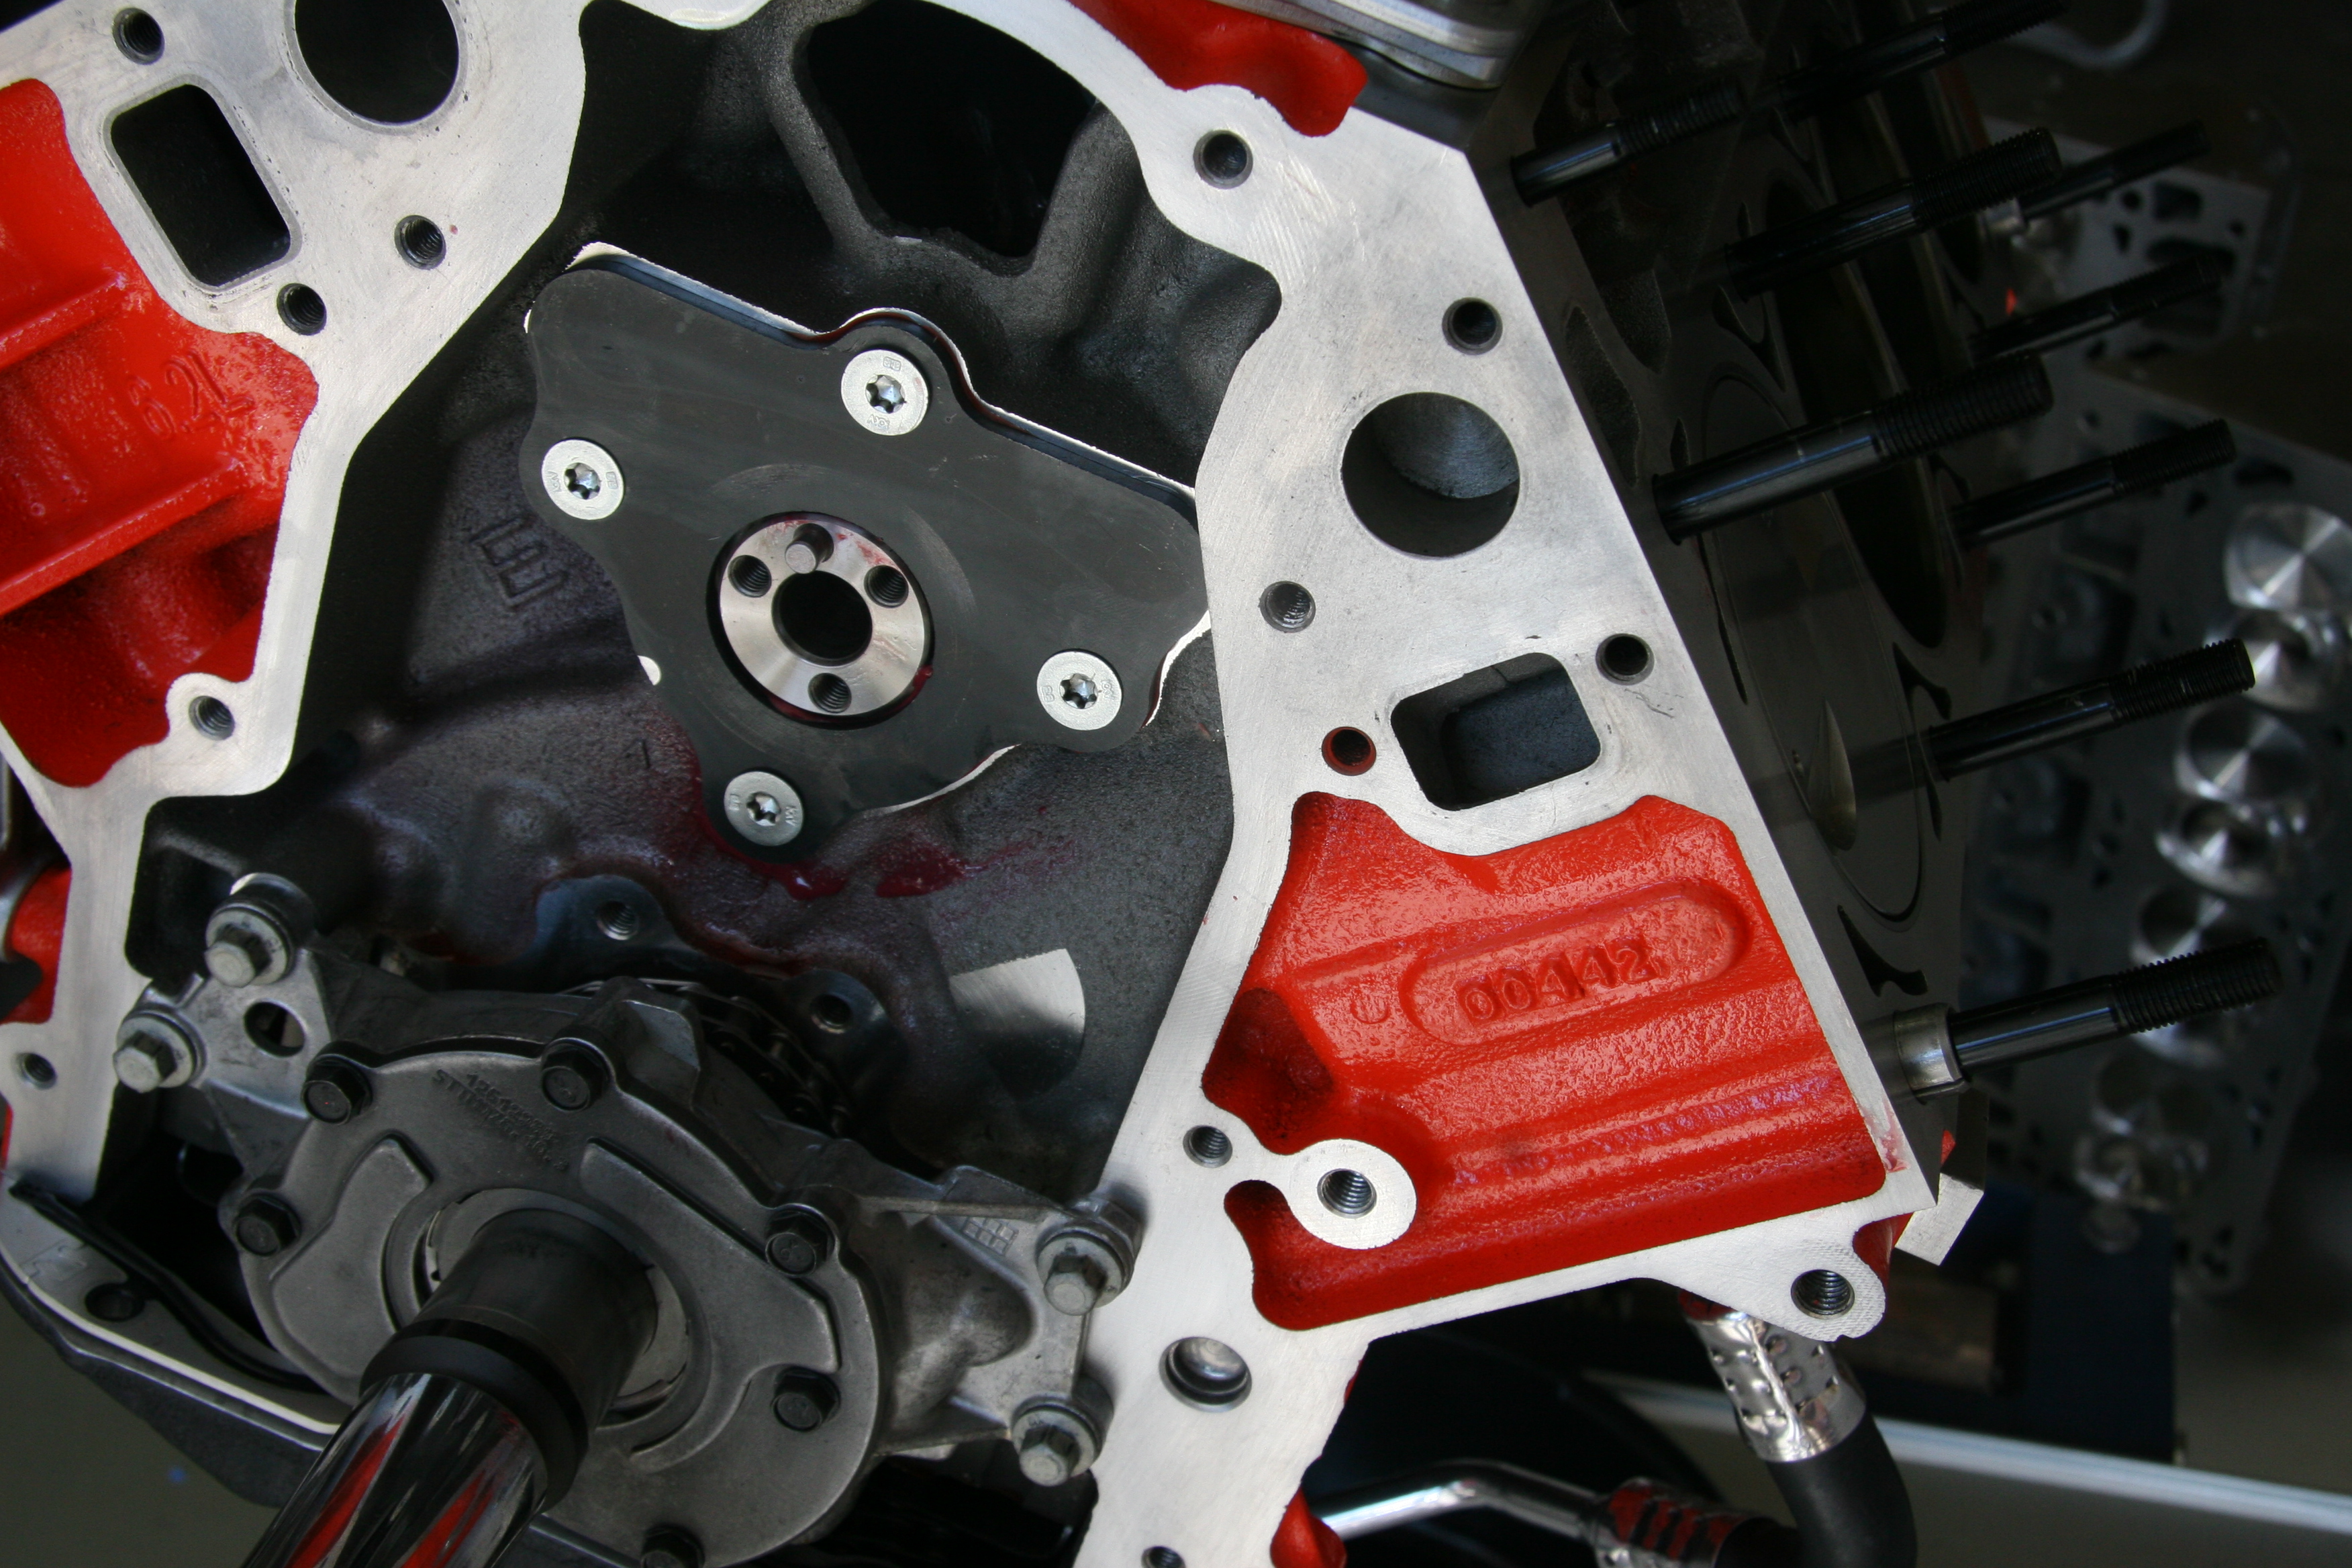
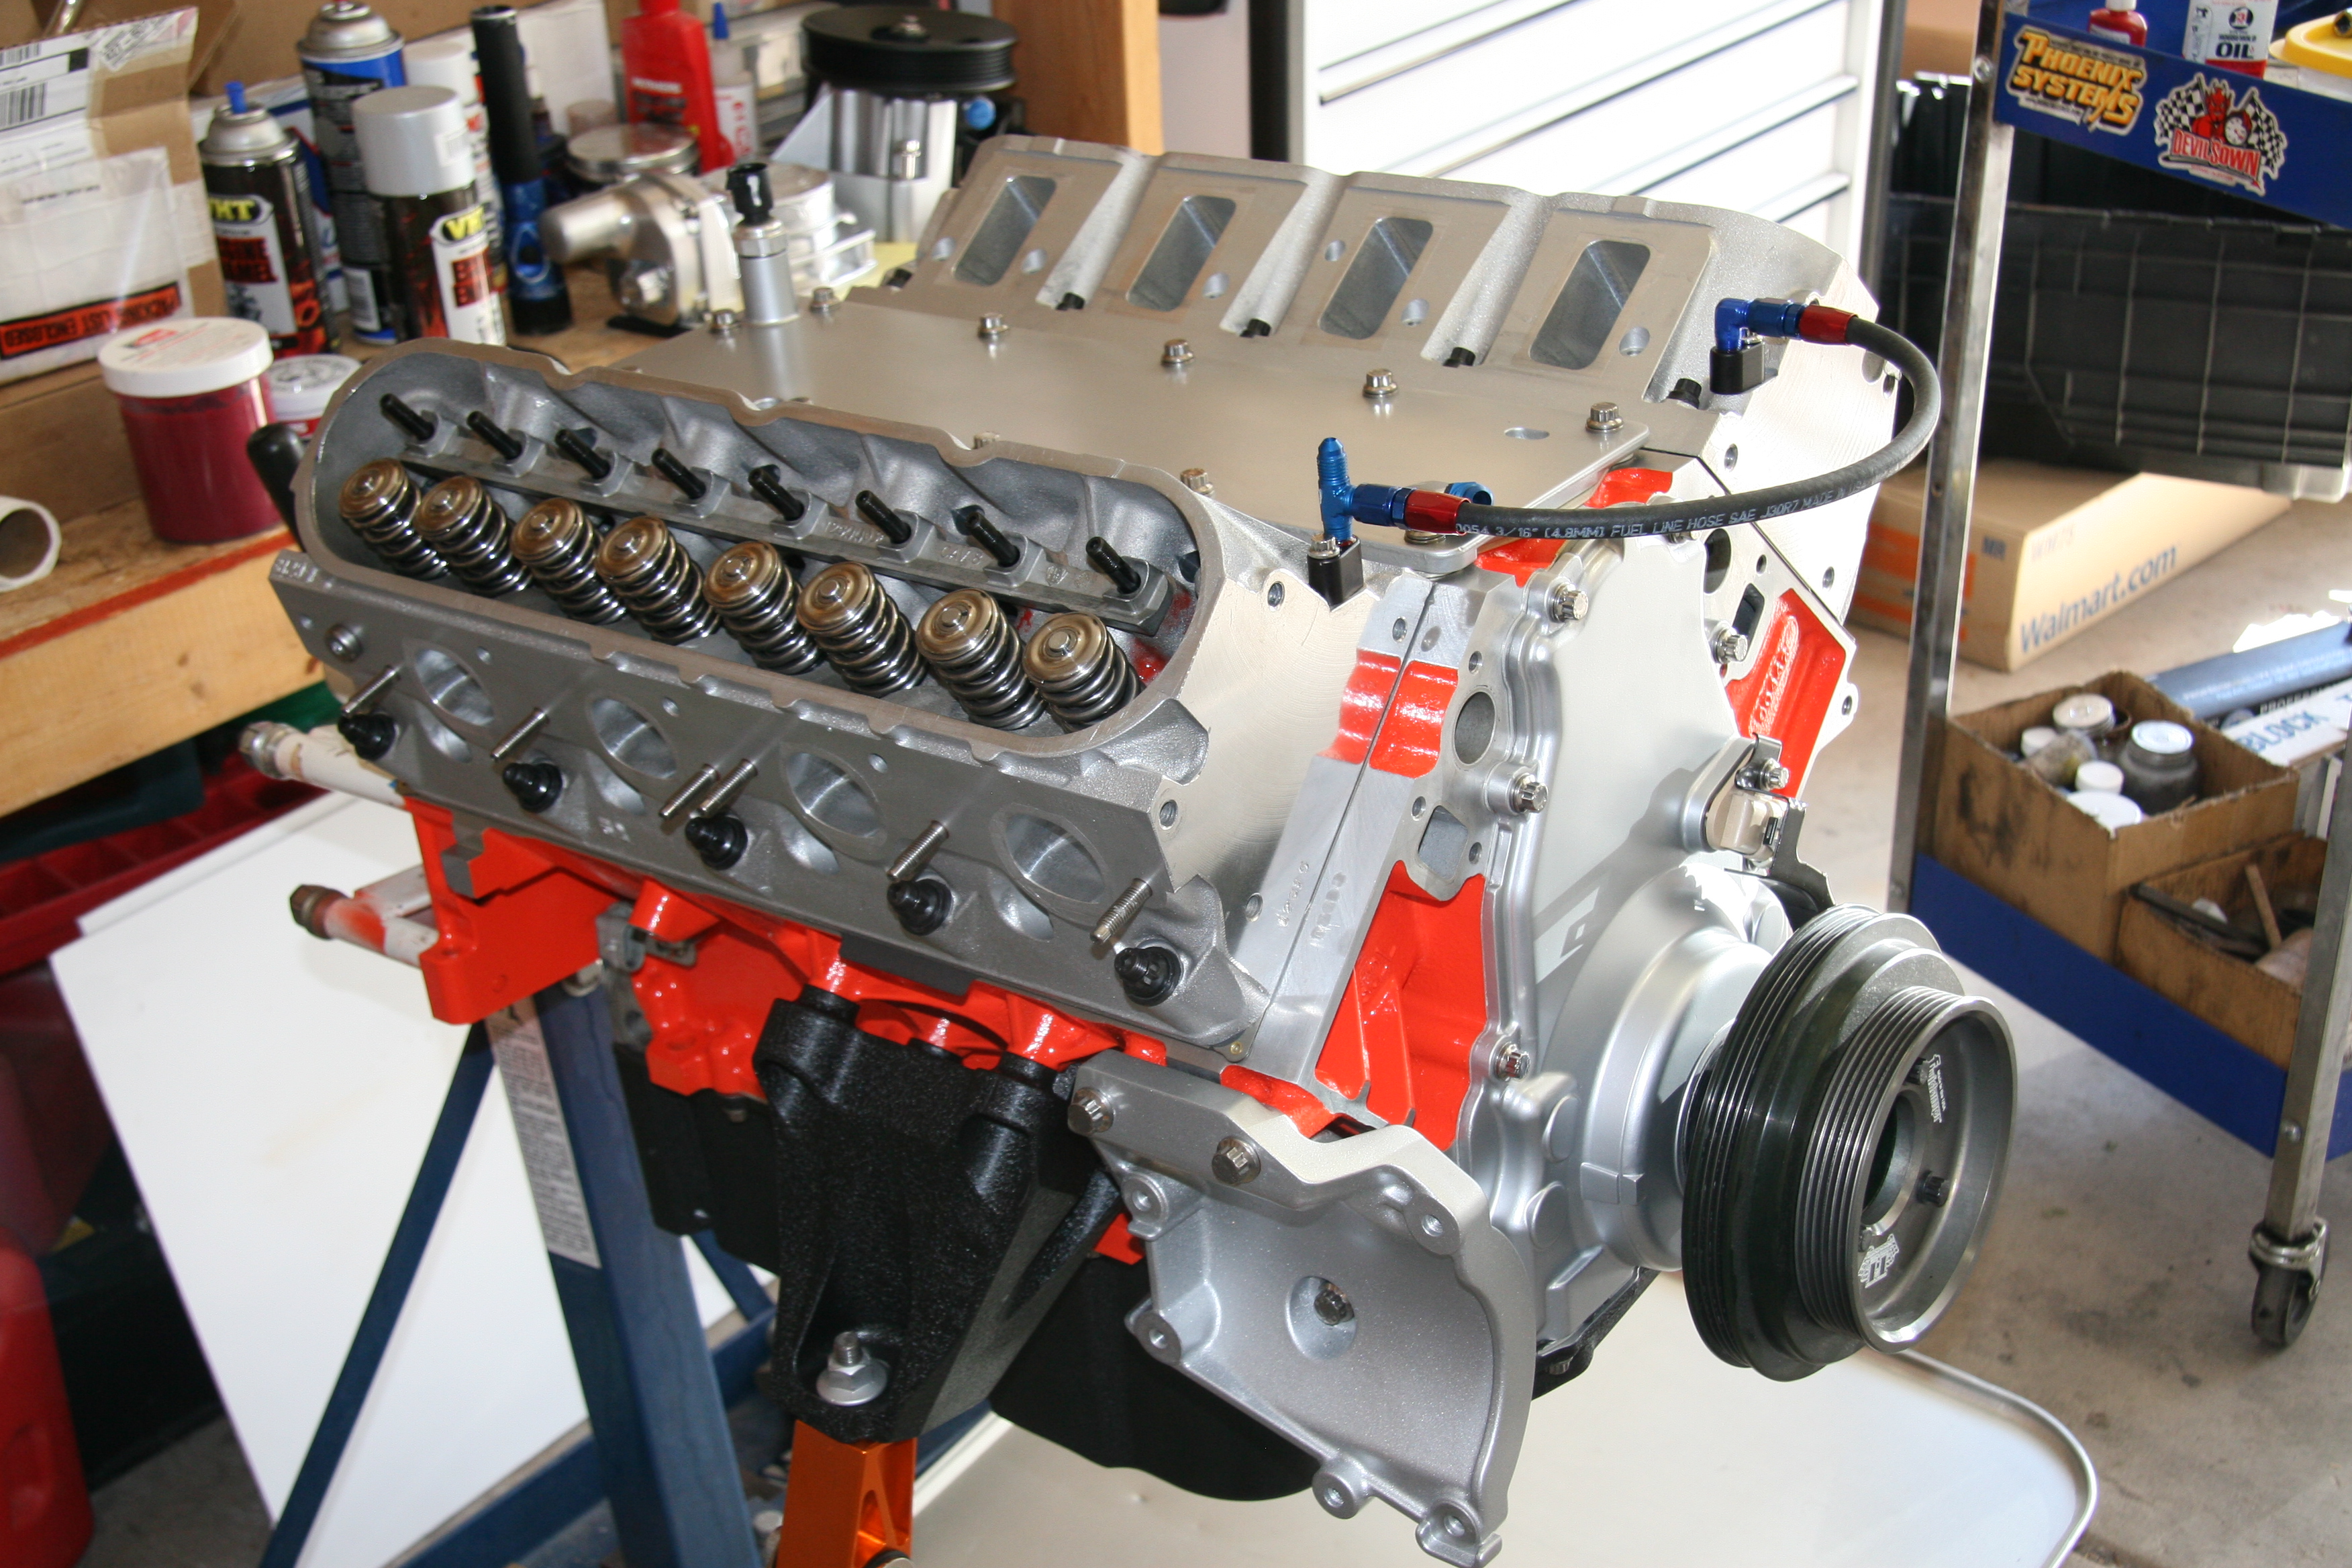
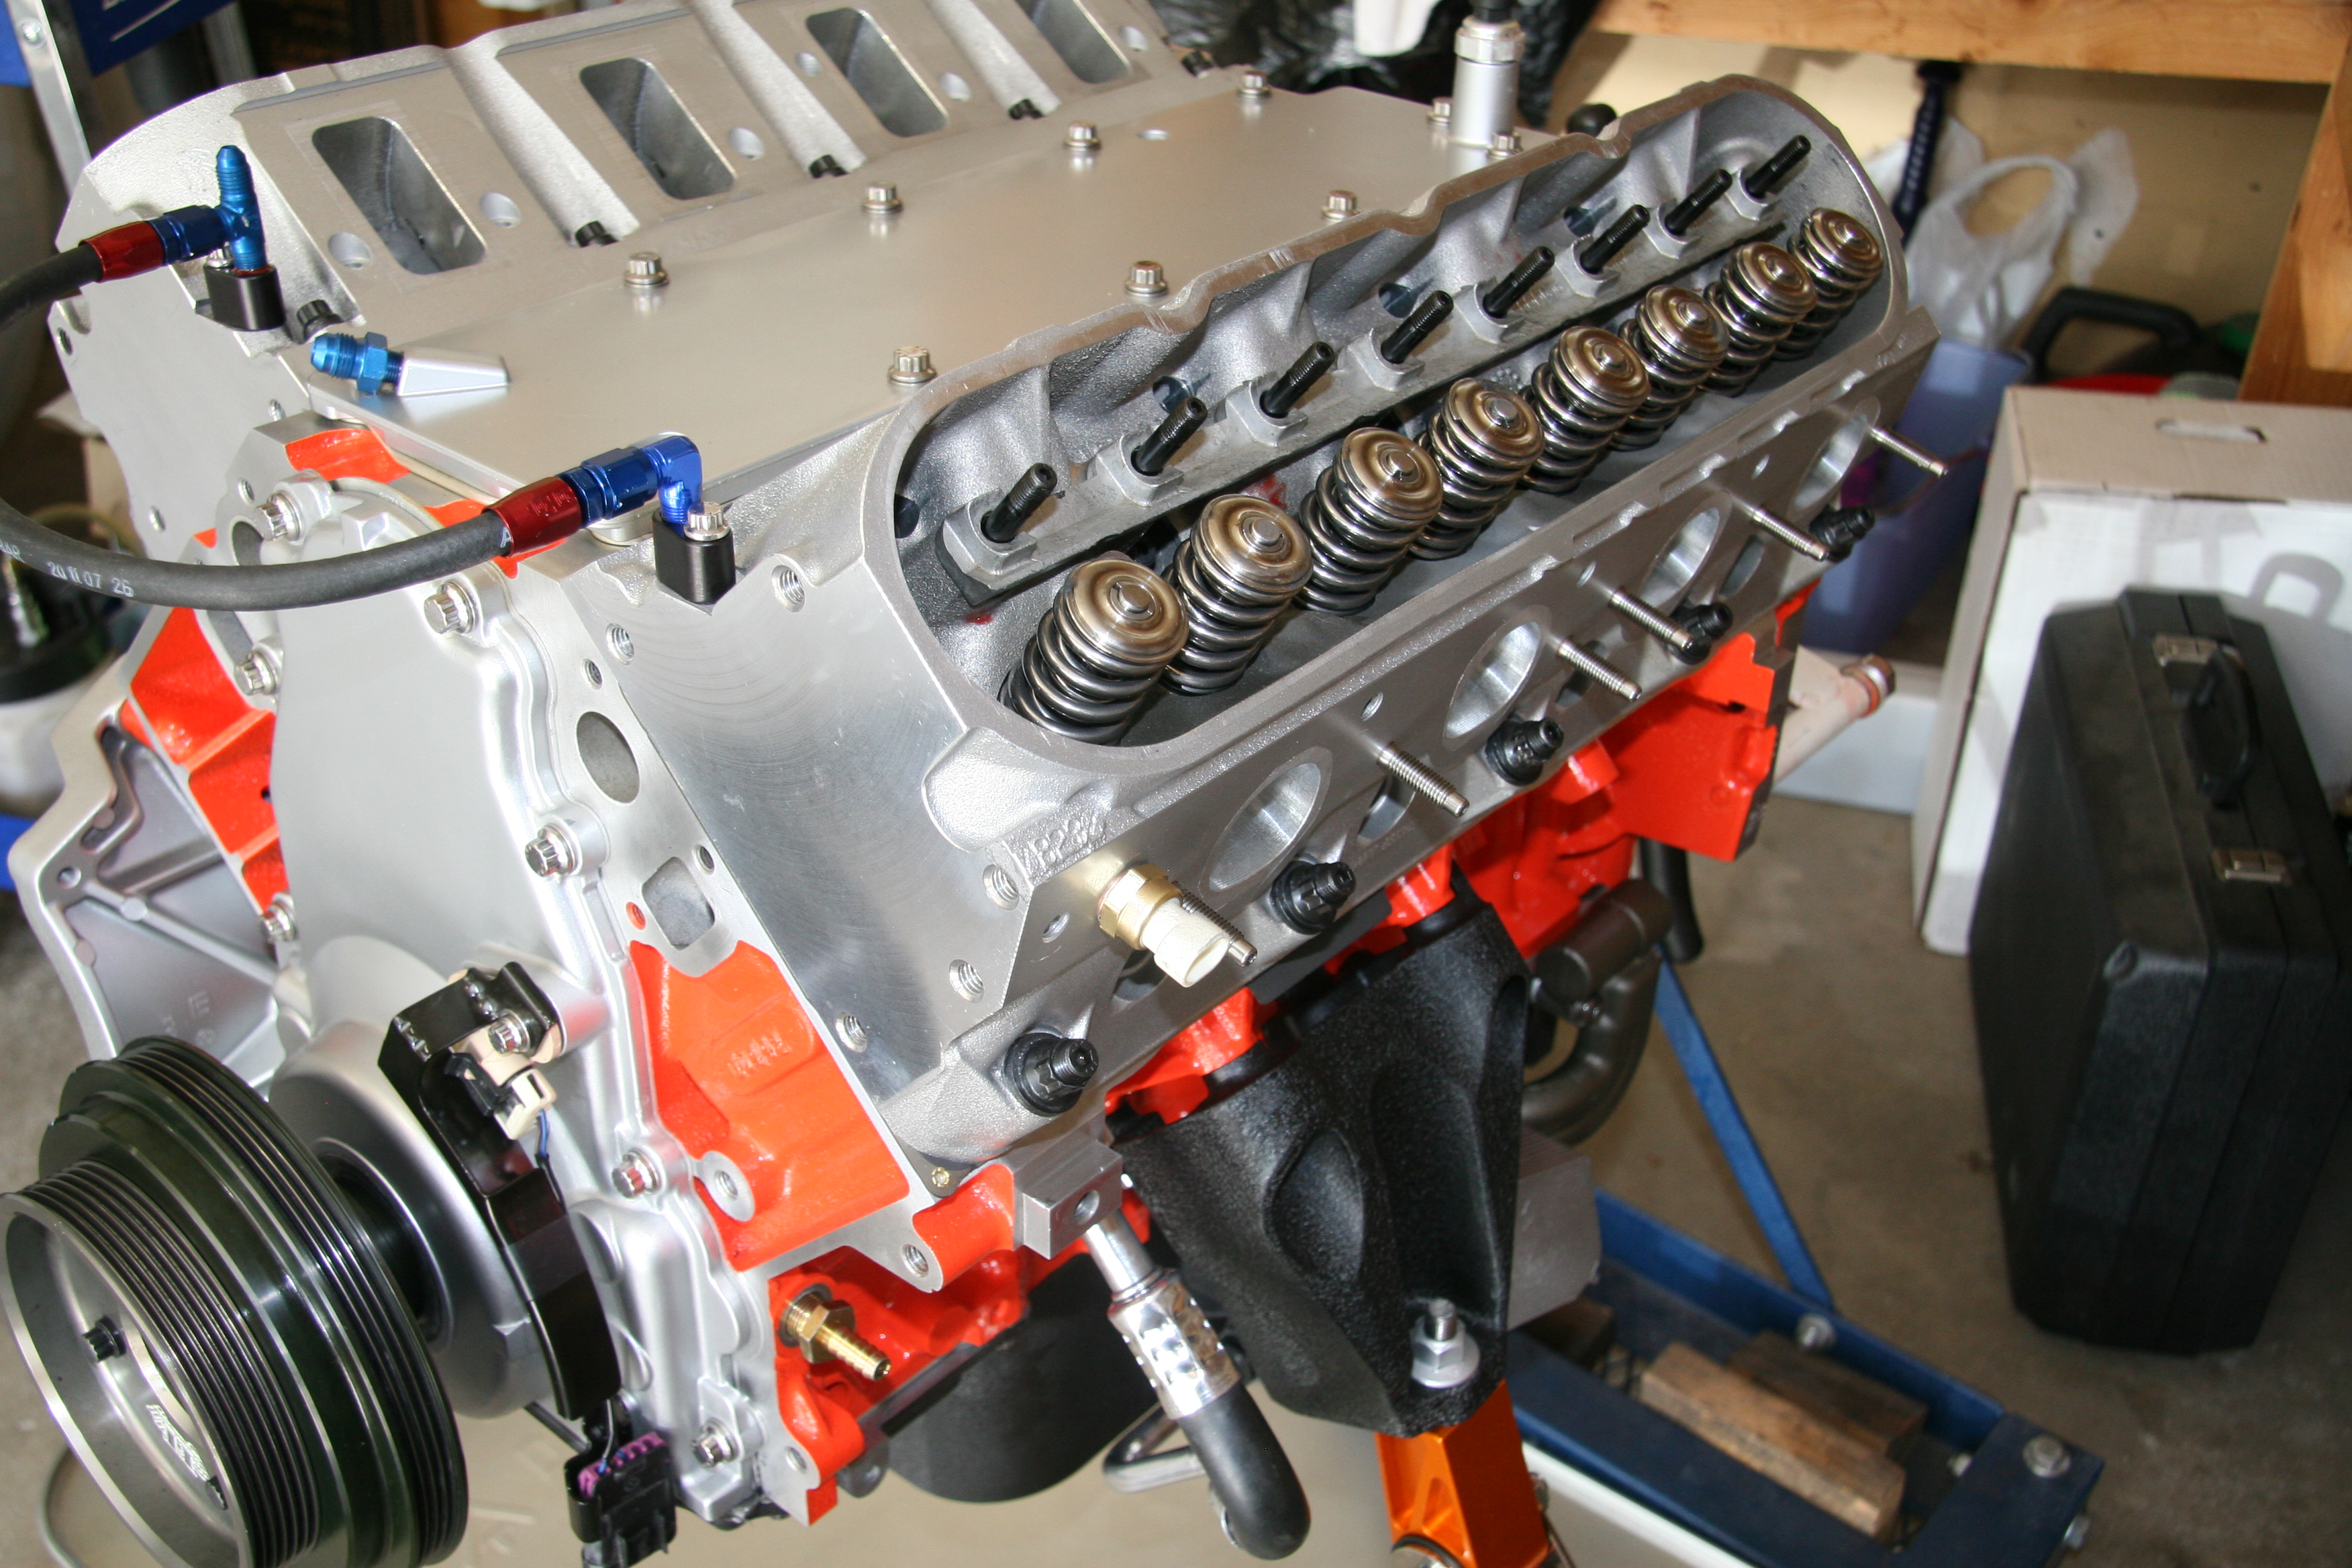
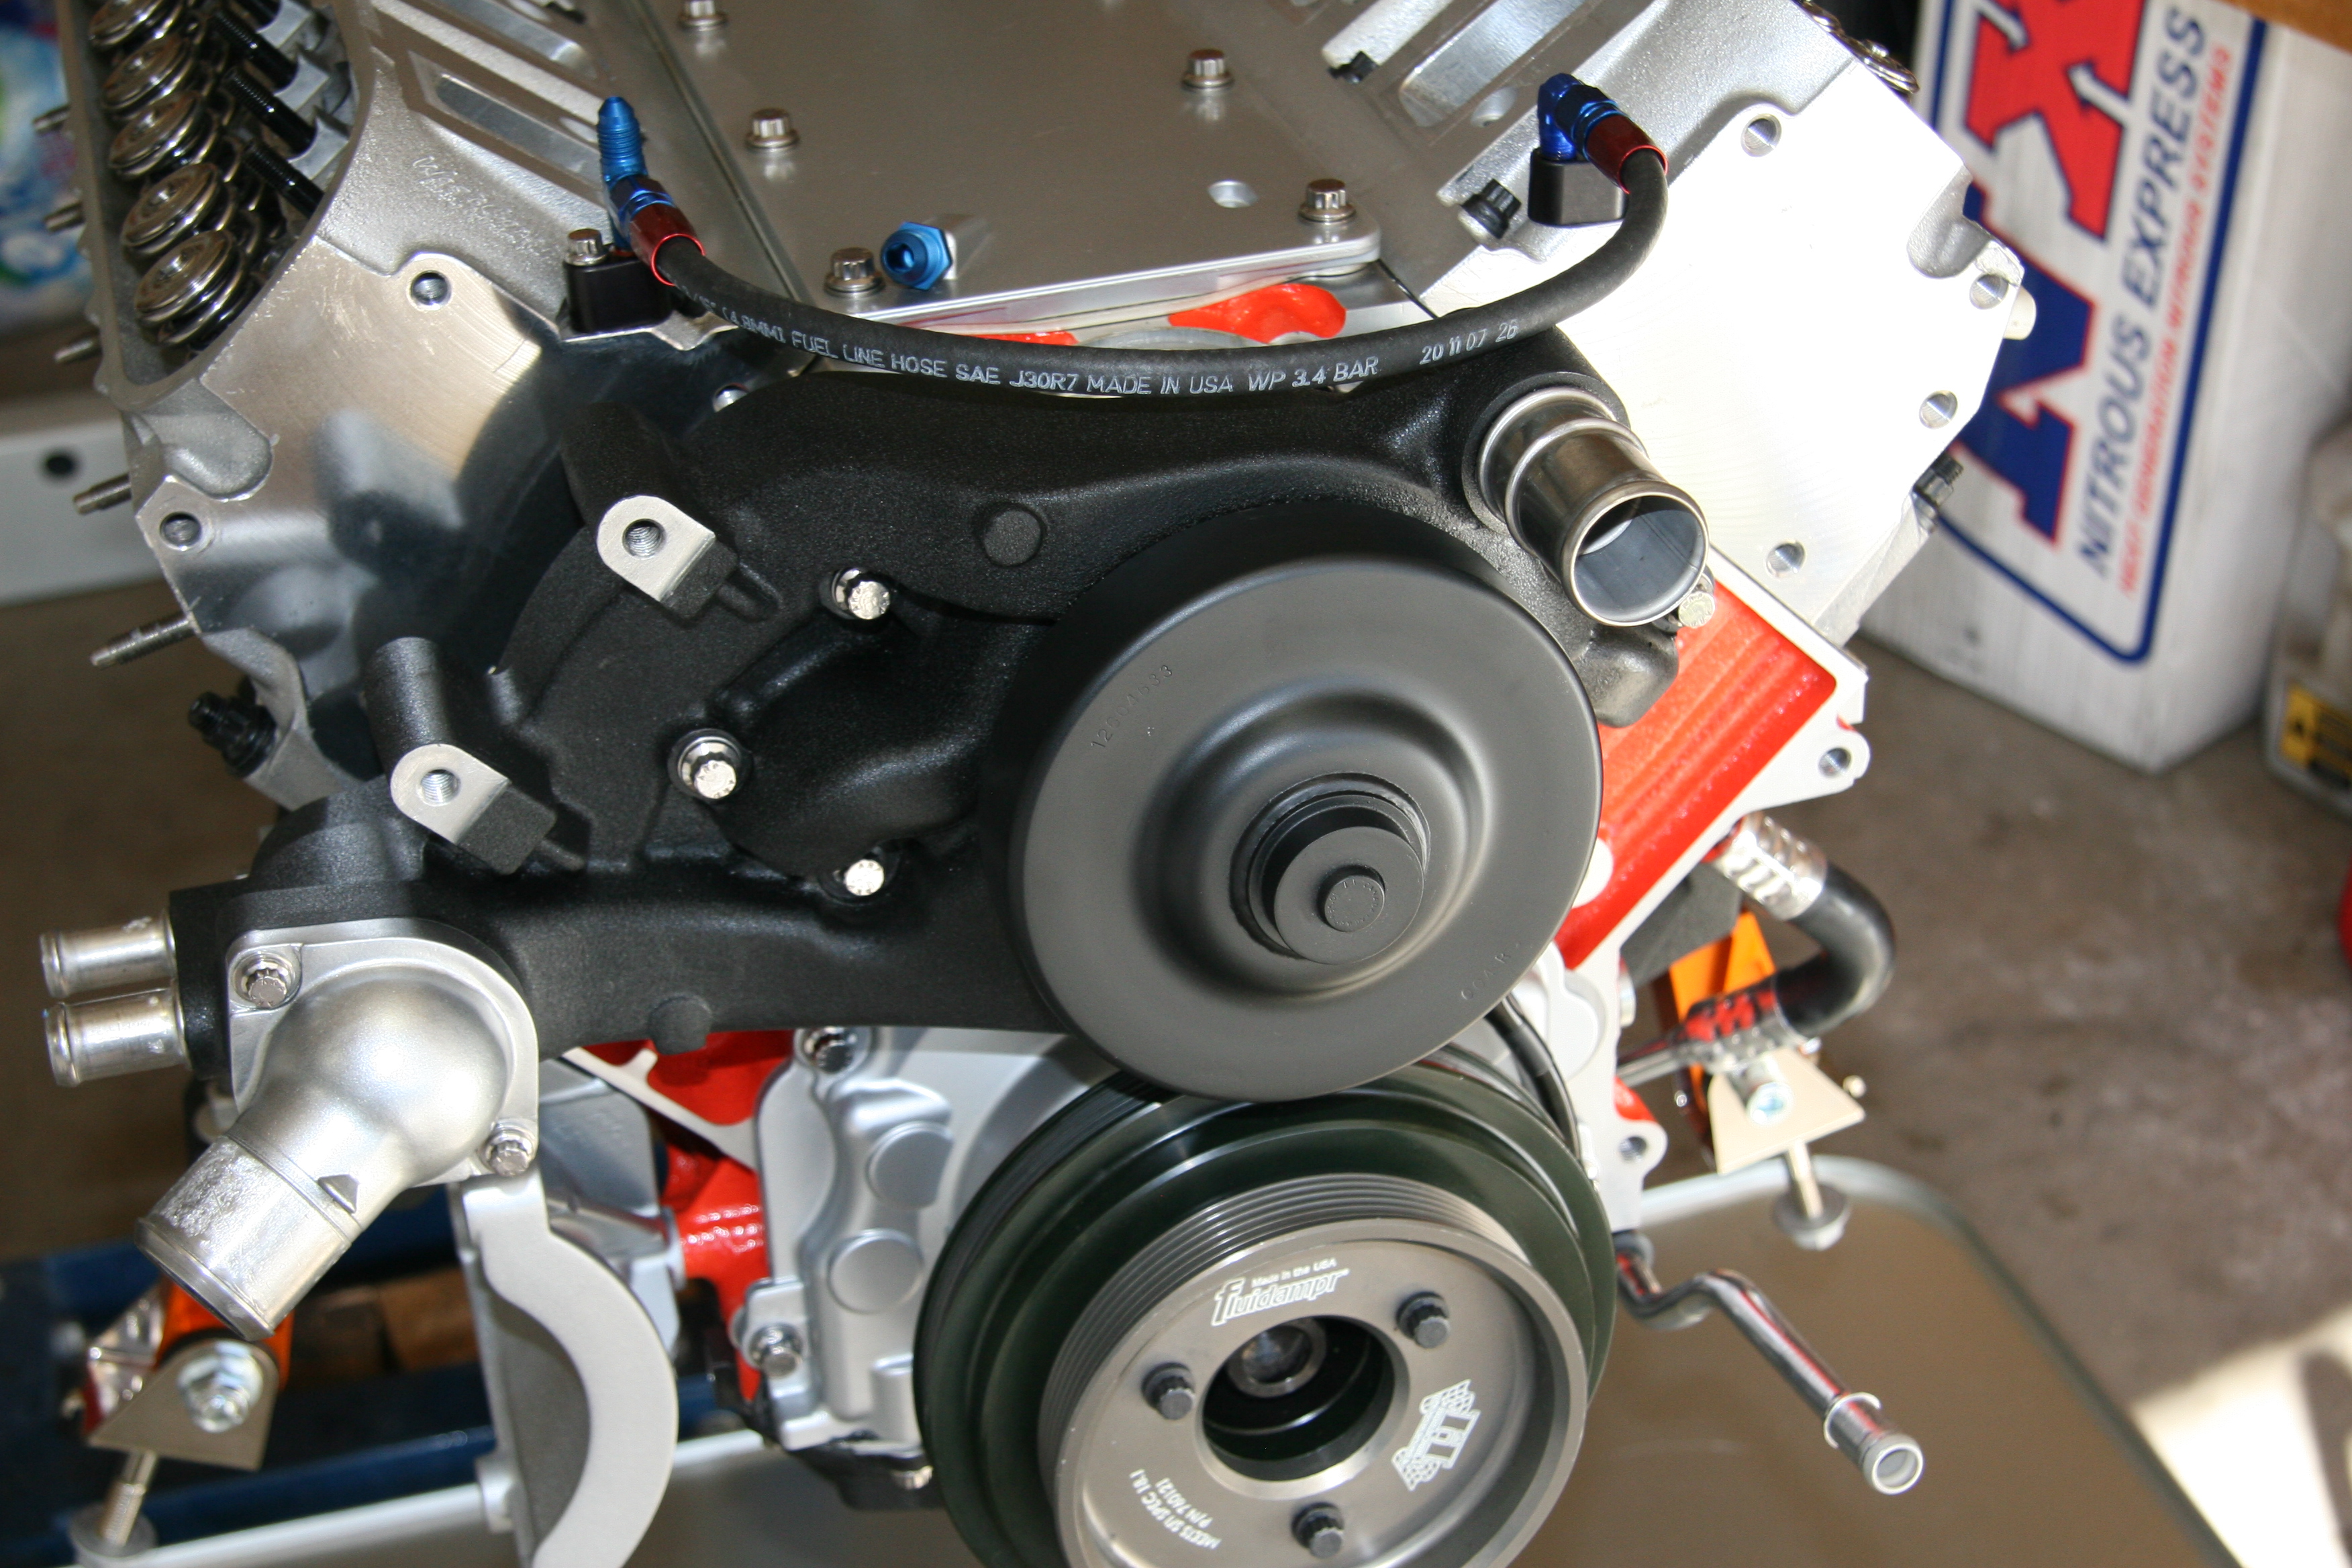
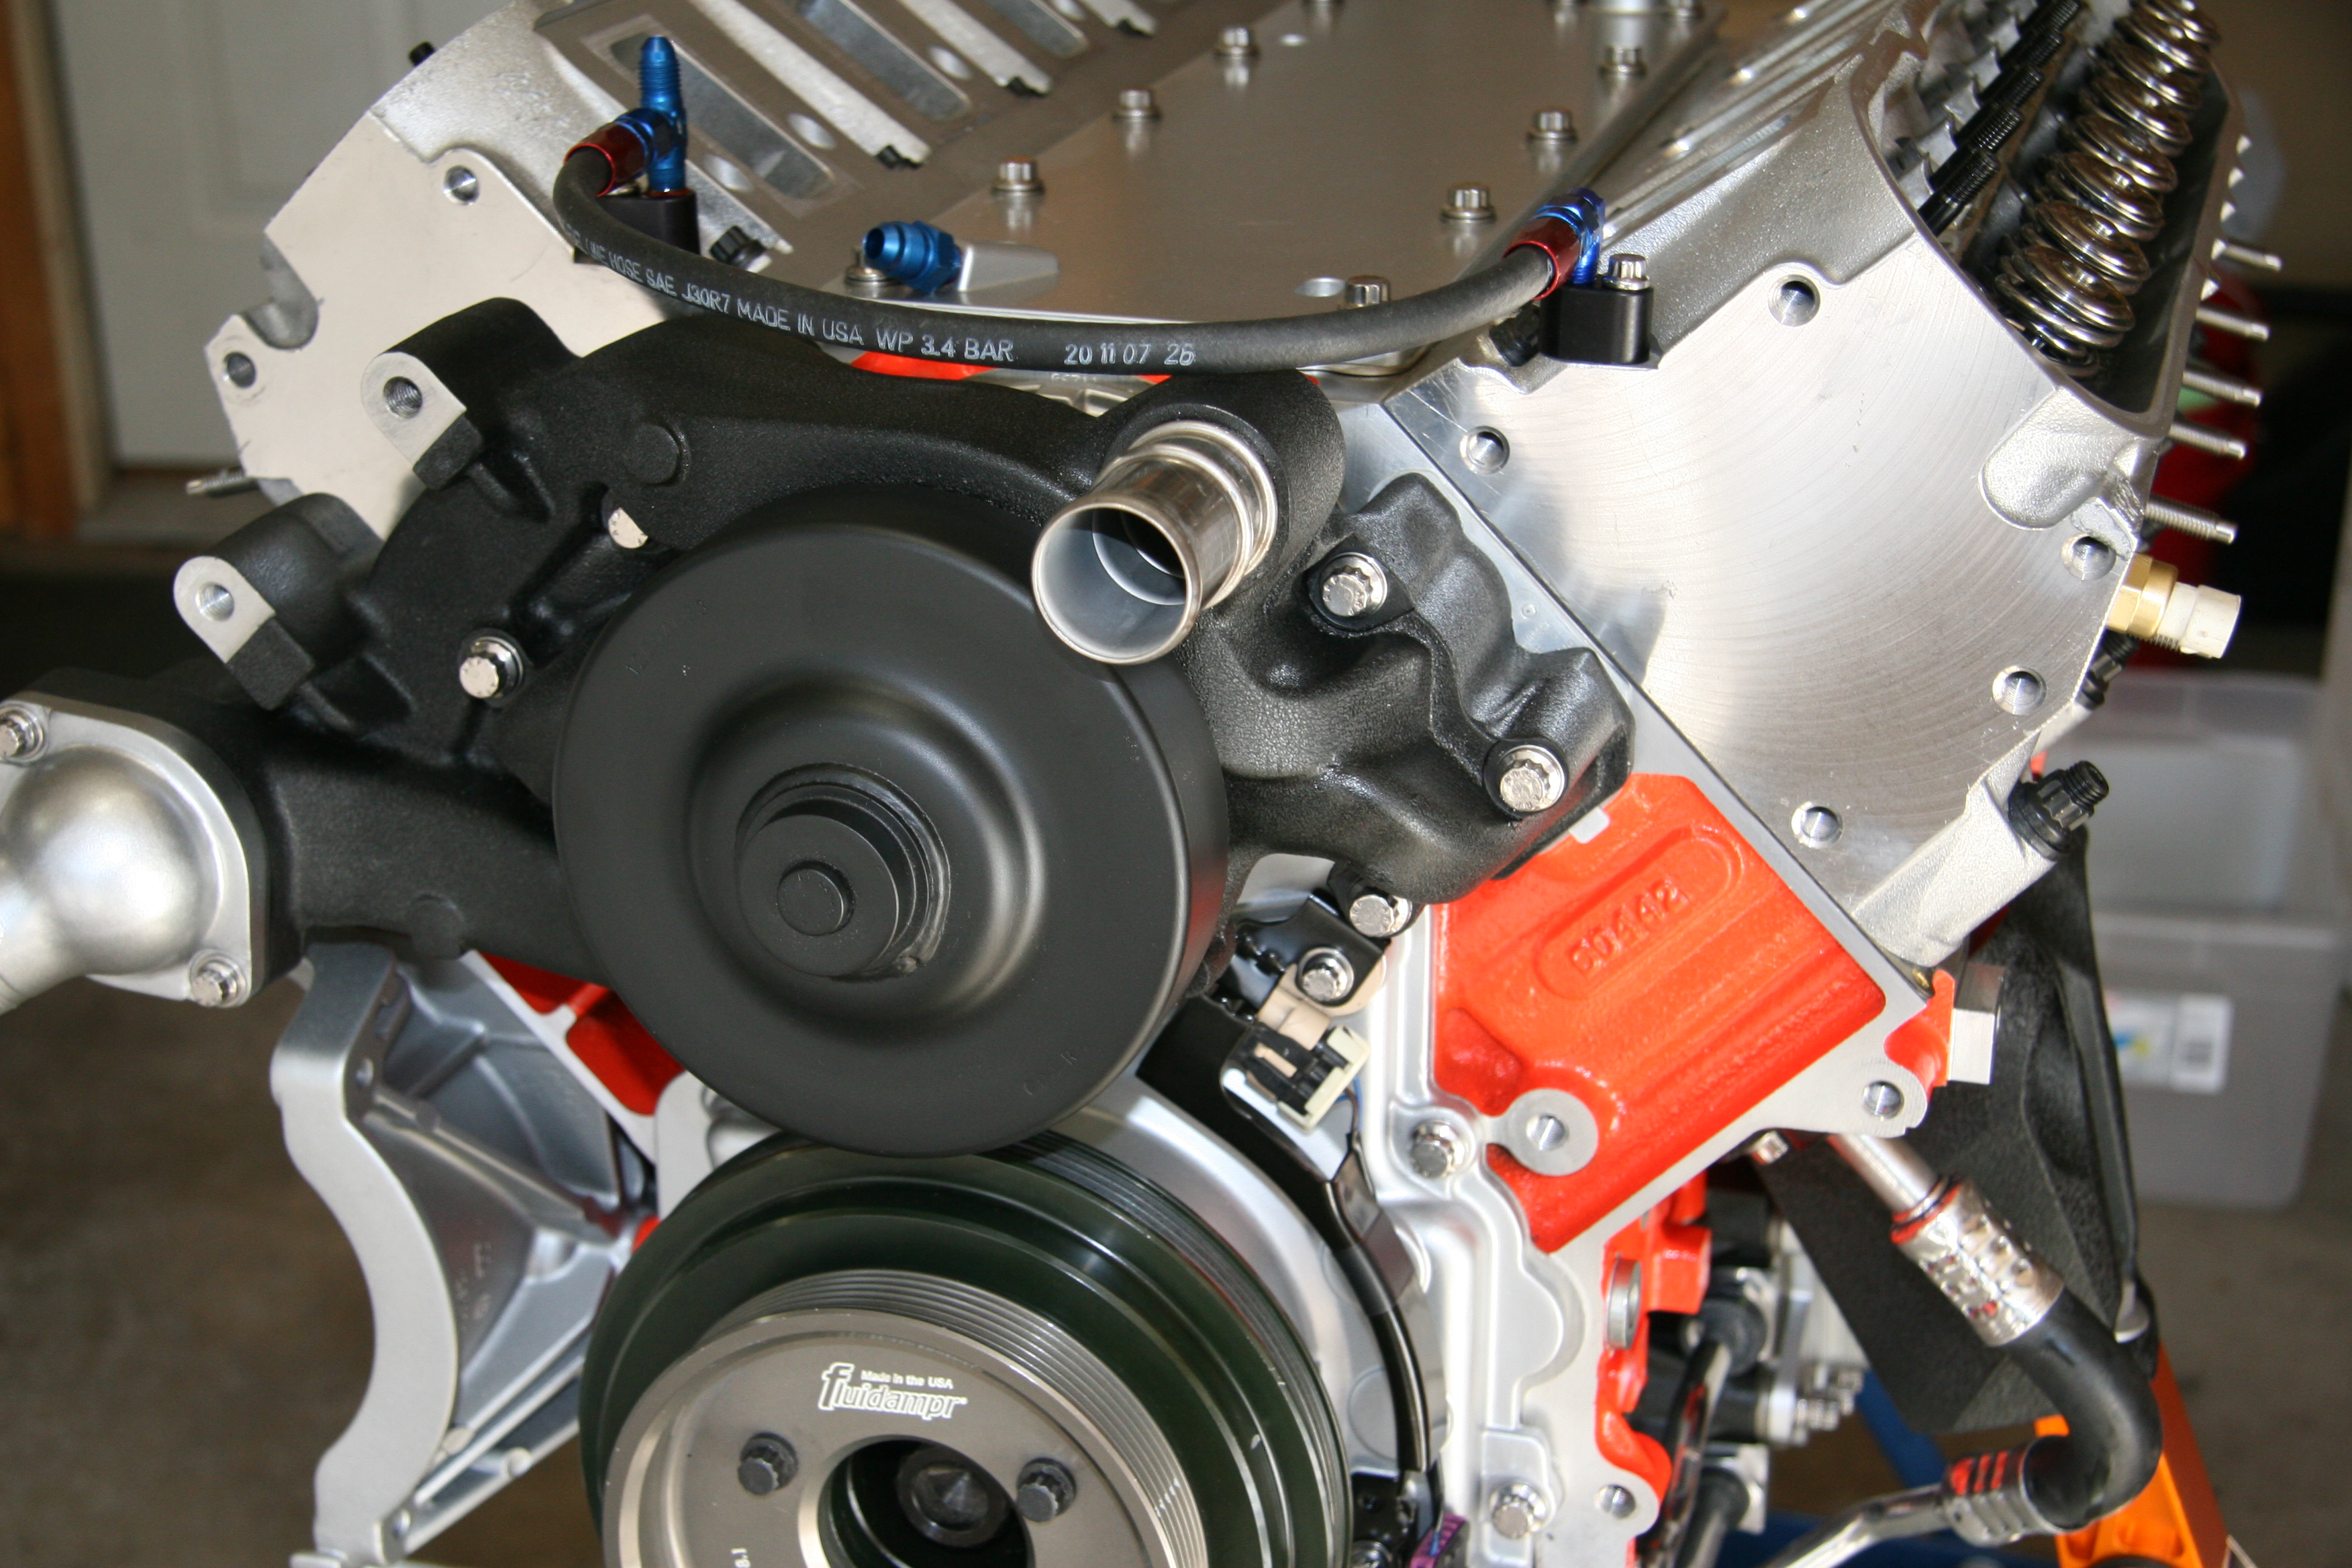
When converting a L99 to a LS3 the front timing cover and cam sensor wiring is changed. These parts are available from your local GM dealer. Pictured here is the LS3 timing cover installed along with a Fluidampr 25% underdrive pulley. This pulley does not affect the air conditioning operation.
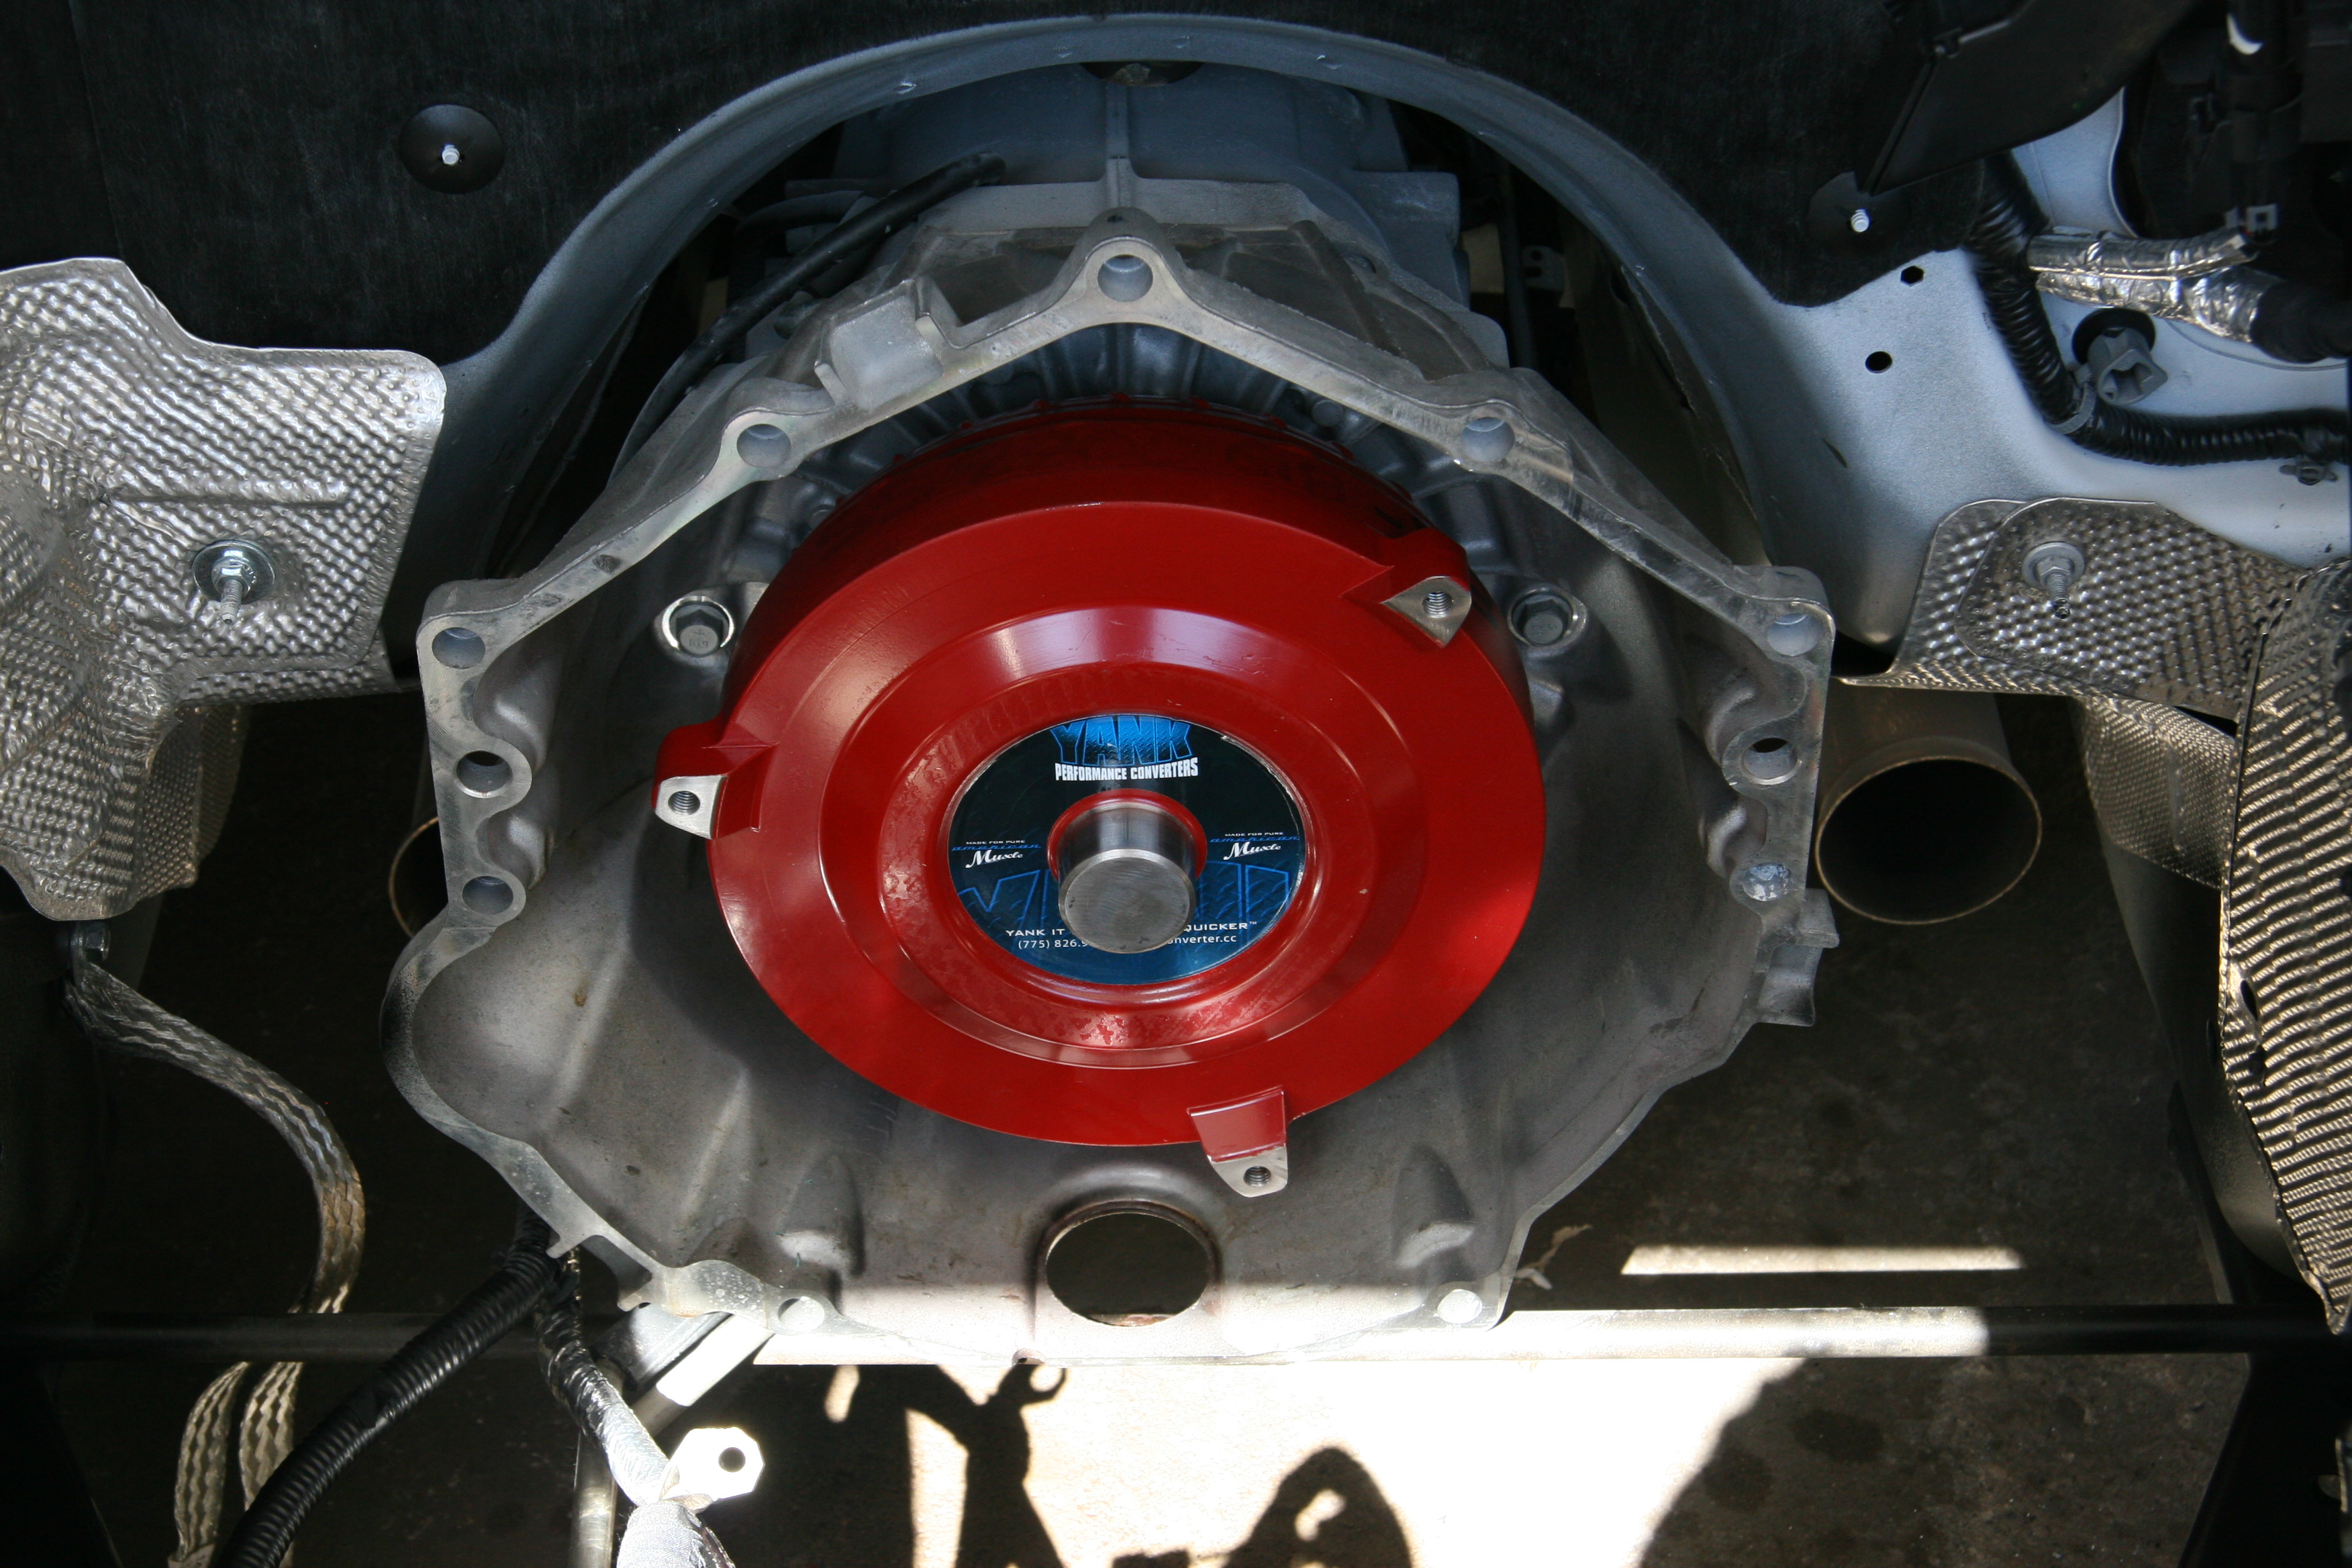
Matching the camshaft to the correct torque converter is critical to the overall drivability of the vehicle. Typically the more aggressive you go with the camshaft the higher stall you will need. There are many choices on converters in stall range and how they react. The LSX Dr. chose a Yank SS 2800.
The water pump is very visible on the front of the engine and does not look very appealing. I spent some extra time cleaning up the casting and then finished it up with a high temp crinkle finish. This made a big difference. The contrast of the polished ARP bolts and black looks great.

The next segment will cover the installation and final details. Stay tuned!